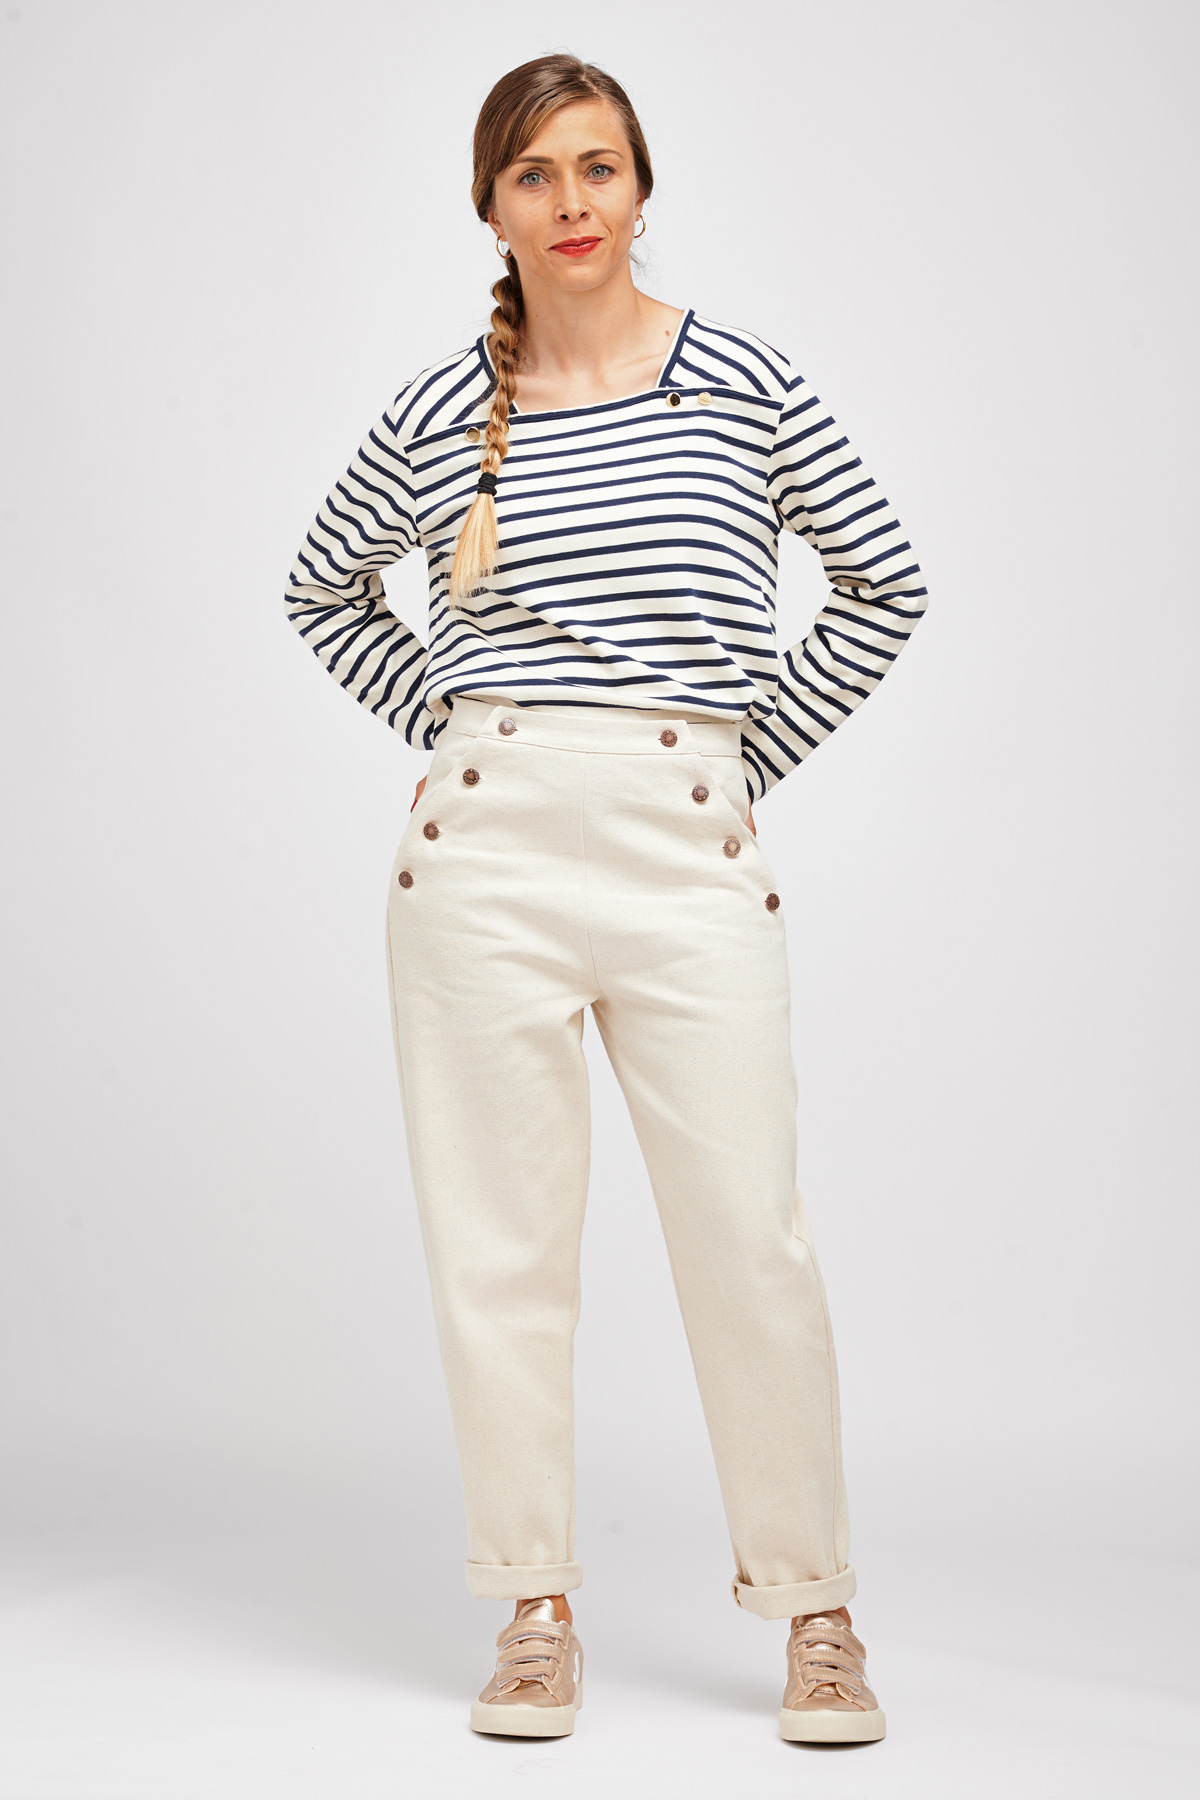
Nout is a classic pair of sailor-style trousers. Perfect for days out, styled smartly for work, or with heels for a night out, Nout will slip into your forever-wardrobe. Smart and stylish, Nout features the instantly recognisable buttoned front flap sailor trousers are known for, yet a tapered leg and contrast topstitching give these a unique edge.
I AM Nout us the perfect pattern to sew your first pair of trousers. Our detailed instructions will help you each step of the way. Indeed, for each step of the process, you will find written instructions accompanied by images.
I AM Nout
Nout is a surprisingly simple pair of sailor-style trousers. With patch pockets, a button-up flap, a fitted waistband and the option for contrast topstitching, Nout is the garment you never knew was missing from your handmade wardrobe.


Instructions
Preparing the facings
Overlock the longest edge of the front facings.

Sewing the facings
Place one front facing on its corresponding front leg right sides together. Pin in place and sew at 3/8’’ (1 cm) and overlock. Turn right side out and press making sure the facing isn’t showing on the right side.


Alternatively, understitch the facing and the seam allowances together 1/8’’ (2 mm) from the seam. Do not stitch through the garment. Place the facing back on the wrong side of the front leg.
Holding the facing
Pin in place along the waist and the side and sew at 3/16’’ (5 mm) to hold everything in place.
Sewing the buttonholes
Mark the placement of the buttonholes as shown on the pattern. Sew them through both layers of fabric (front and front facing).


Follow these instructions to prepare the waistband and the center front waistband.
Place the waistbands right sides together. Pin in place at the short ends and along the top. Sew at 3/8’’ (1 cm) making sure to start and finish 3/8’’ (1 cm) from the bottom edge to leave the seam allowances free.


Trim the corners and clip into the curves. Turn right side out and press.


Fold one back leg right side together on itself and match up the dart legs using the notches. Sew from the dart leg to the dart point. Start with a backstitch and leave a 2’’ (5 cm) thread tail that you secure with a double knot. Press the dart toward the centre back.


Fold and press the top of one back pocket 3/8’’ (1 cm) and again 3/8’’ (1 cm) towards the wrong side. Pin in place. Topstitch at 5/16’’ (8 mm) to maintain the hem in place.


Overlock the side and bottom edges of the pockets

Use the cardboard template to press the remaining seam allowances of the pocket. Place the template on the wrong side of the pocket. Align it at the top and centre it widthwise. Press the 3/8’’ (1 cm) seam allowances of the sides and bottom edges towards the template. If needed, clip the corners to ensure a neat finish.


Place the wrong side of the pocket on the right side of one back. Align the top of the pocket with the markings of the pocket placement. Pin in place and topstitch along the sides and the bottom of the pocket.


Sew bar tacks at the top of the pocket to reinforce it.

Sewing the crotch
Place both front legs right sides together and pin along the centre front. Sew at 3/8’’ (1 cm). Finish the seam. Press the seam towards the right leg.


Follow the same steps to assemble both back legs together but press the seam towards the left leg.


Sewing the side front
Finish the inside edge of each side front. We recommend an overlock (or a zigzag finish if using a sewing machine).
We recommend an overlock (or a zigzag finish if using a sewing machine) as it avoids creating bulk:
at the side seams
- at the waistband later on.
If you want to bias bind the raw edge instead, please test ahead to make sure it will actually achieve a neat finish with the added layers at the waistband and on the sides.

Sewing the side front with the front
Place a side front underneath its corresponding front leg in order to have the right side of the side front touching the wrong side of the front leg. Align the slanted edge of the front with the notches of the side front. Pin in place along the side where both pieces overlap. Sew at 3/16’’ (5 mm) along the side to hold both pieces together.


Pin the side front pieces to the front in order to hold them in place and keep all pieces aligned for the next steps.
Sewing the side seams
Place the assembled front and the assembled back right sides together and align them on one side. Pin in place along the side and sew at 3/8’’ (1 cm). Finish the seam and press it towards the back.


Sewing the inseam
Place the front and the back right sides together and align their inseams. Match the centre front seam with the centre back seam and pin in place along the inseam. Sew at 3/8’’ (1 cm) along the inseam. Start at the bottom of one leg and finish at the bottom of the other leg. Finish the seam and press the seam towards the back.


Follow these instructions to prepare the waistband and the center front waistband.
Place the outer waistband and the garment right sides together. Match up the ends of the waistband with the ends of the side fronts. Match up the notches on the waistband to the centre back and side seams of the garment. Pin the garment and the outer waistband together. Do not pin the layer of the inner waistband. It should remain free. Sew at 3/8’’ (1 cm) from one end to the other.


Press in order to place the seam allowances inside the waistband. Press the 3/8’’ (1 cm) seam allowance of the inner waistband towards the inside of the waistband. Looking at the wrong side of the garment, align this folded edge with the first seam. Pin in place. On the right side of the garment, topstitch along the bottom of the waistband.


Hemming the garment
At the bottom of each leg, fold and press 3/8’’ (1 cm) and again 3/8’’ (1 cm) towards the wrong side. Pin in place and topstitch all around to hem the garment.


Sewing the buttonholes
Sew two buttonholes on the centre front waistband as indicated on the pattern.


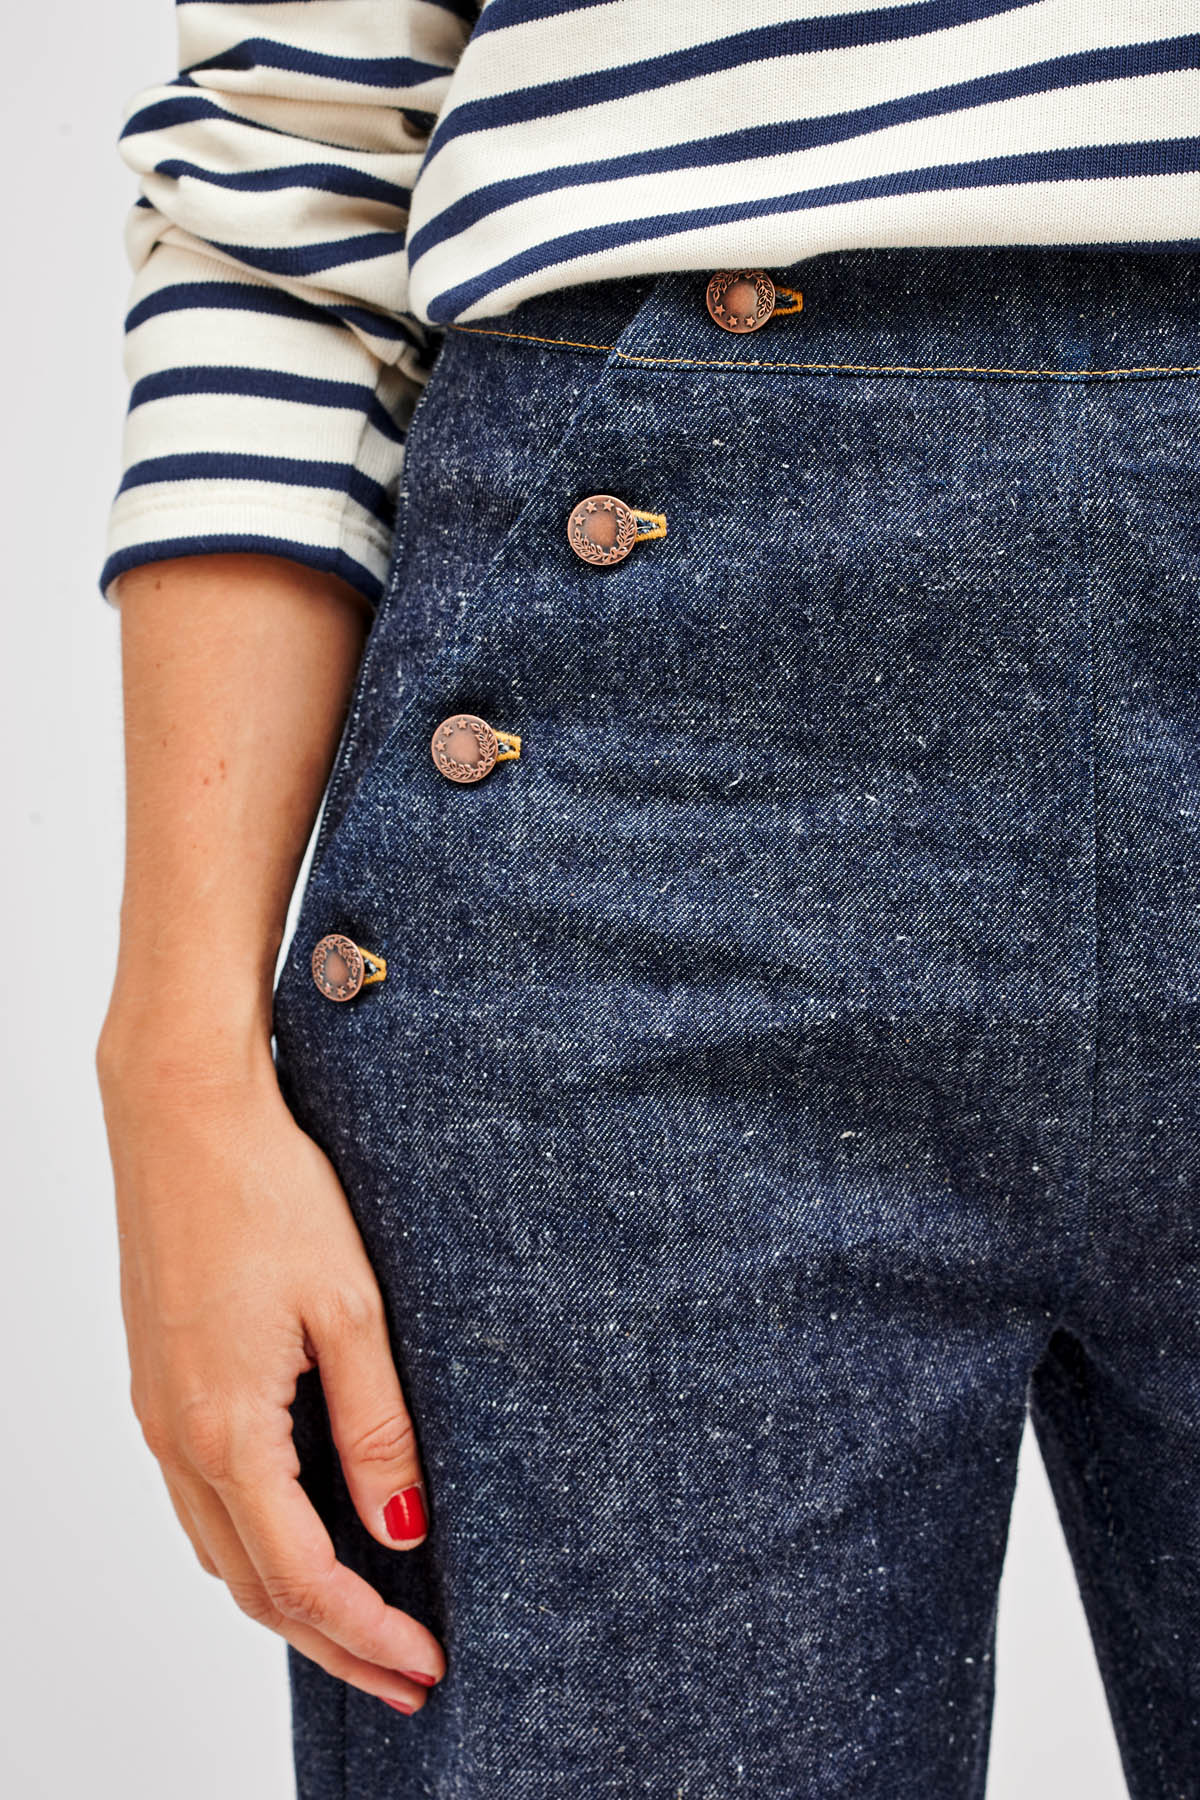
Adding the buttons
Sew the buttons on the waistband and side fronts. The buttons are not centred with the buttonholes. Instead, place each button so the thread shank (that will be created when sewing the button) will rest against the end of the buttonhole that is closer to side seam.


You’ve finished!
Ahoy there! We have a pair of sailor-style trousers! We would love to see your finished trousers; please do share photos on Instagram and tag @iampatterns and use @iam_patterns, #iampatterns and #iamnout
Many thanks to Emilie from @mggplusplus for making this step by step sew along.