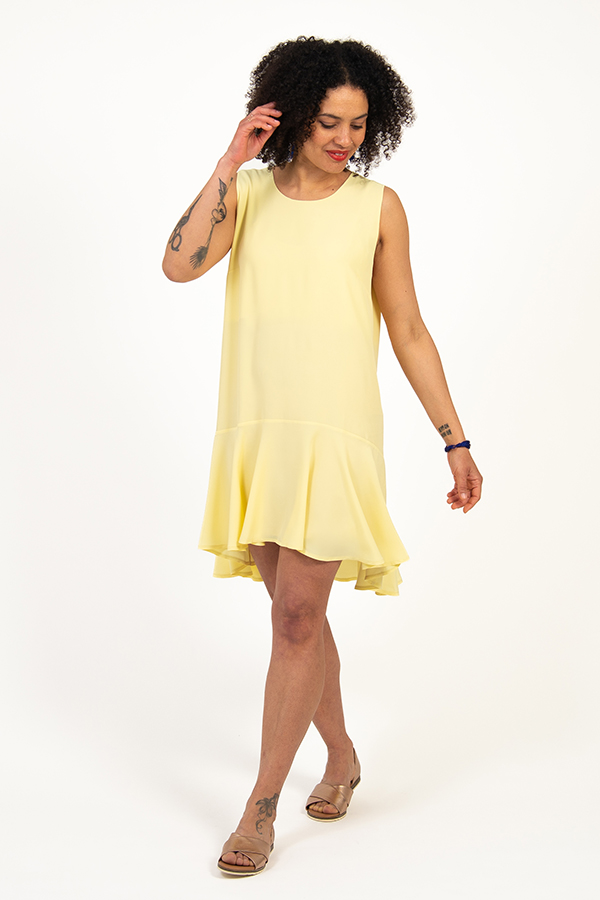
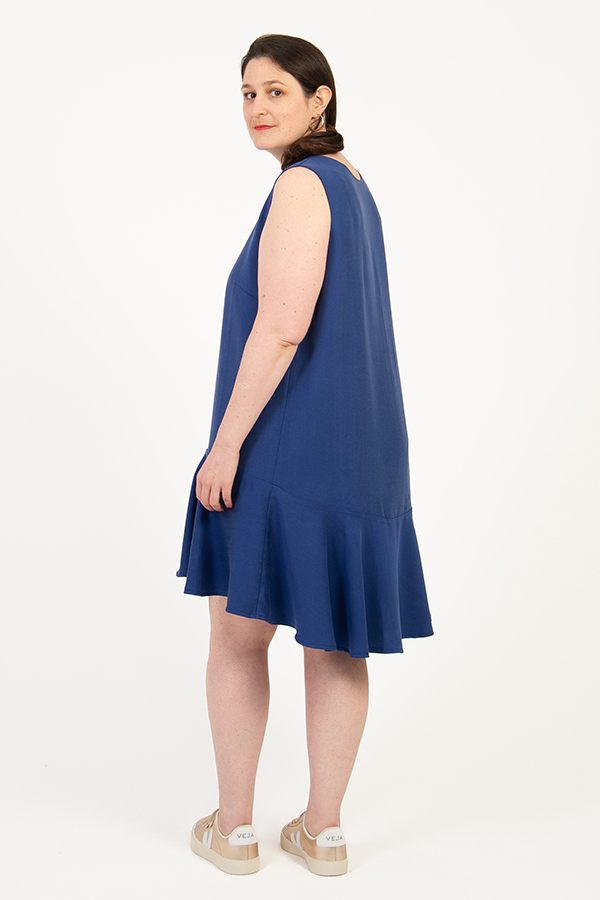
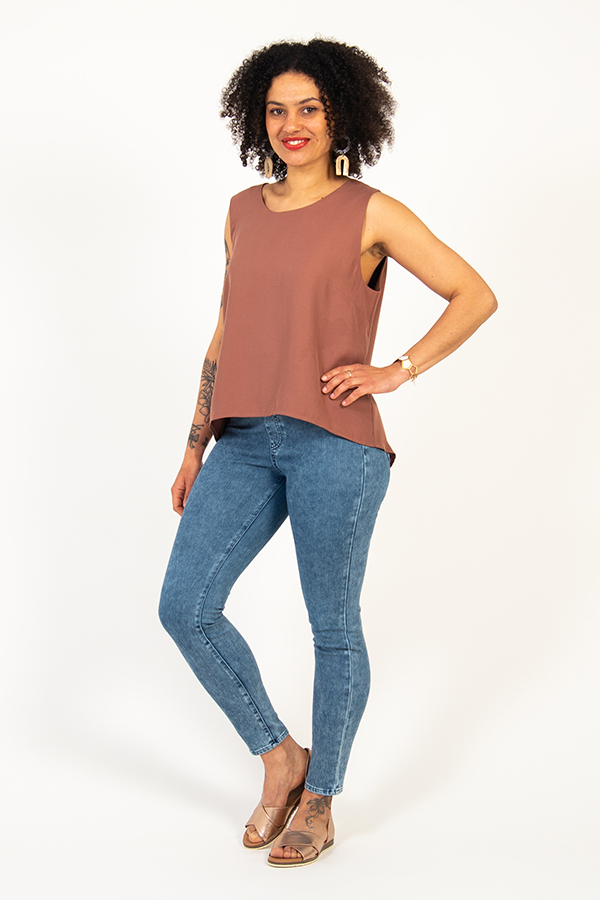
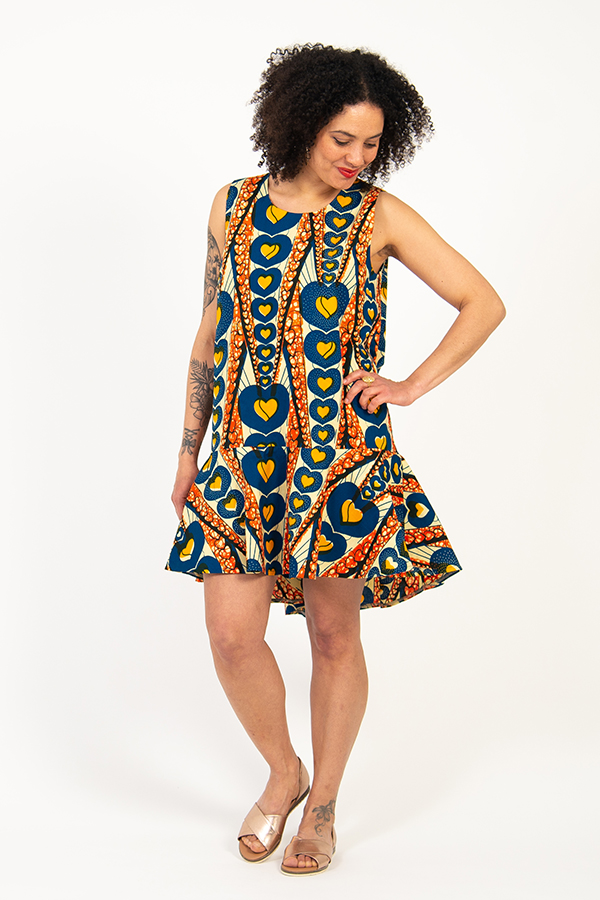
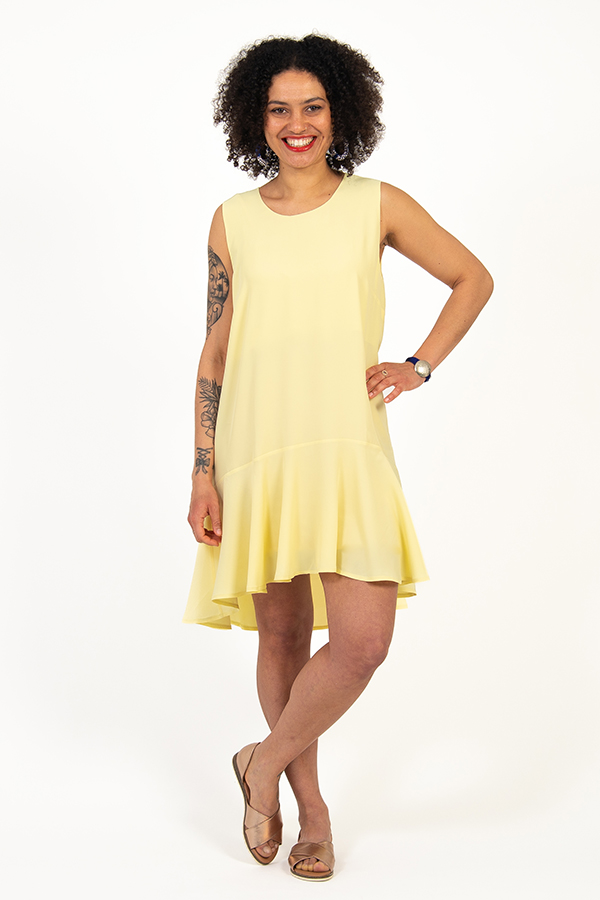
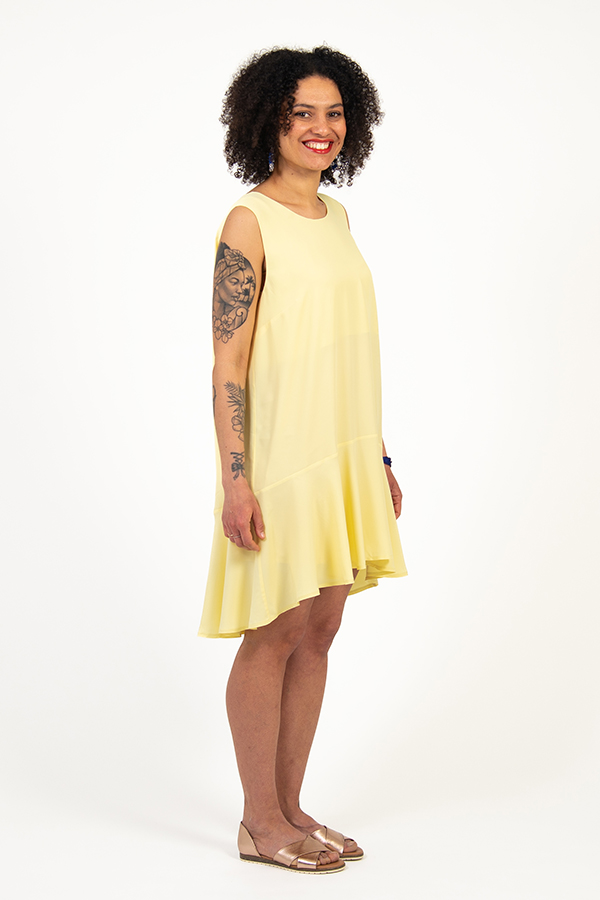
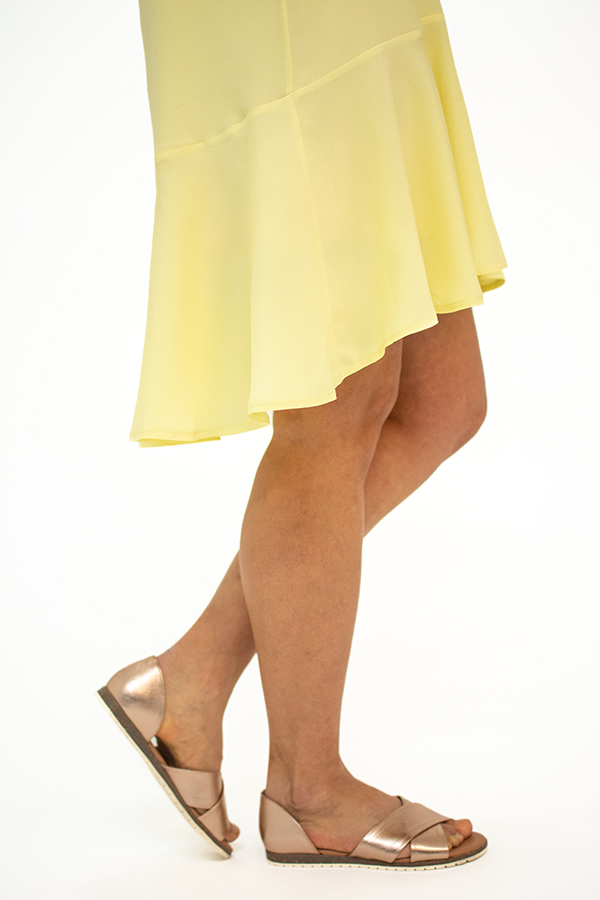
Aura is an elegant and understated A-line dress with a high-low hem. Aura can be made as a top or a simple swing dress, with an optional ruffle for a fun twist on a classic. With no fastenings, this garment is perfect for beginners and more experienced sewists alike.
Below you’ll find a step by step tutorial to help you sew I AM Aura. For each step, you will find written instructions accompanied by images.
I AM Aura
I AM Aura is a simple yet impactful A-line top and dress. With bust darts, a lined bust, an optional frill and a neckline designed for ease of wear, Aura’s subtlety hides beautiful details. Aura is a must-sew staple for summer, with options for a tank top, an A-line dress and a ruffle hem dress.
I am very simple to sew with a wow effect at the end. I am perfect for both the beginners and the experiences seamstresses alike.

Instructions
Staystitching prevents stretching the pieces cut on the bias. To staystitch, stitch within the seam allowance, 5/16’’ (8 mm) from the edge of the fabric as follows:
• Along the armholes and the necklines of pieces 1, 2, 4 & 5 for versions A, B & C.
• Along the top of both piece 3 for version A.
Fold the front right side together on itself and match up the dart legs using the notches. Sew from the dart leg to the dart point. Start with a backstitch and finish with leaving a 2’’ (5 cm) thread tail that you secure with a double knot. Press the dart downwards.
Repeat for the other side and the darts of the lining.


Finish the raw seam at the bottom of the linings.

Place the front lining and the front right sides together. Align the necklines matching up the centre front notches. Pin in place and sew at 3/8’’ (1 cm).


With the front lining and the front still right sides together, align the armholes and pin them in place. Sew each armhole at 3/8’’ (1 cm).


Clip the seam allowances of the neckline and the armholes. If needed, grade the seam allowances. Press.


Repeat the steps to prepare the back.
Turn the assembled back right side out so the back and back lining are wrong sides together and press.
Do not turn the front right side out.


Slip one shoulder of the assembled back in between the assembled front so the back lining and the front lining are right sides together and the front and the back are right sides together too. Align them at the shoulder. Pin in place. Sew through all layers at 3/8’’ (1 cm). Trim the corners.


Repeat to sew the other shoulder and turn the garment right side out and press all seams.


Turn the garment wrong side out and lift the lining in order to show the seams. At the neckline and the armholes, understitch the lining and the seam allowances together 1/8’’ (2 mm) from the seam. Do not stitch through the garment. Because the shoulders are narrow, you will not be able to stitch all around the neckline in one go so stitch as far as you can on each side.
Turn the garment right side out and press all seams.


Turn the garment wrong side out so the right sides of the lining are showing and the front and back are right sides together. Lift the linings and place them right sides together. Pin in place along the sides. Sew at 3/8’’ (1 cm) in one go from the bottom of the garment to the bottom edge of the lining. Finish the seams.


Turn right side out and press the seams towards the back.


Place the ruffle pieces right sides together and align them at each end. Sew the side seams at 3/8’’ (1 cm). Finish the seams and press.


bottom of the dress, right sides together. Match up the side seams, the centrer front and the centre back. Pin in place and sew at 3/8’’ (1 cm). Finish the seam and press the seam downwards.


Finish the raw edge at the bottom of the garment.
Fold and press the bottom of the garment 3/8’’ (1 cm) towards the wrong side. Pin in place and topstitch at 5/16’’ (8 mm) all around the bottom to hem the garment.


It’s finished!
Your ruffle hem dress is ready to swish! Congratulations on sewing a gorgeous garment to treasure! We would love to see your finished make; please do share photos on Instagram and tag @iam_patterns, #iampatterns et #iamaura
Many thanks to Emilie from @mggplusplus for this sew along.