Hélios is a 7-in-1 pattern that brings endless styling opportunities. With a unique and elegant open-front detail and an elasticated waistband, Hélios is chic yet casual and comfortable. The construction of Hélios is beginner-friendly, while the different elements of the design allow your imagination to run wild as you pick and mix to create your own unique style.
For each step, you will find written instructions accompanied by multiple images.
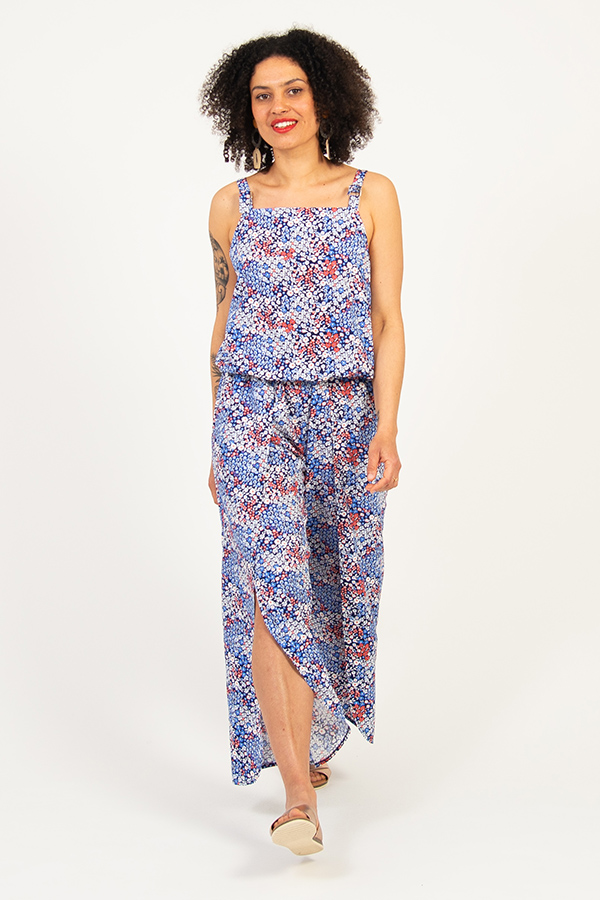
I AM Hélios
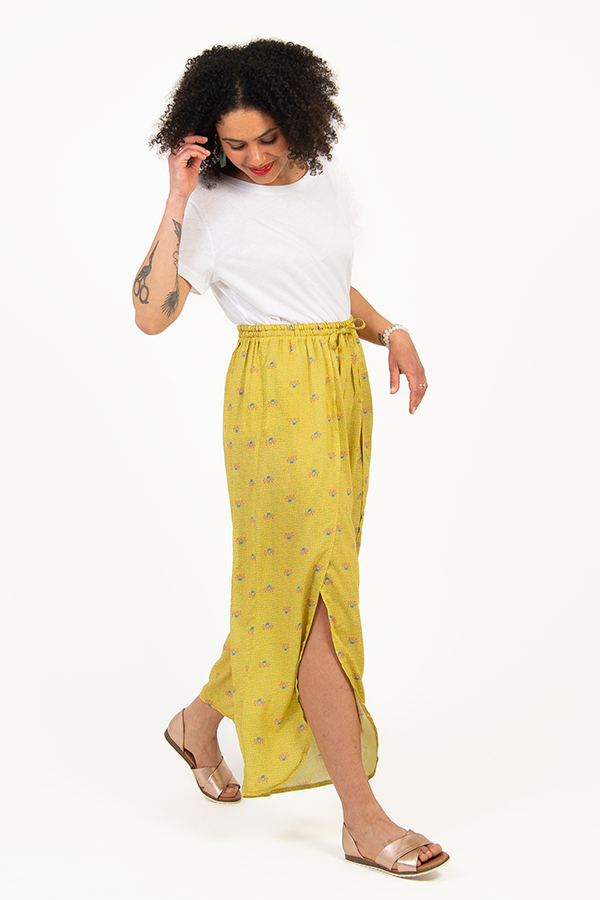
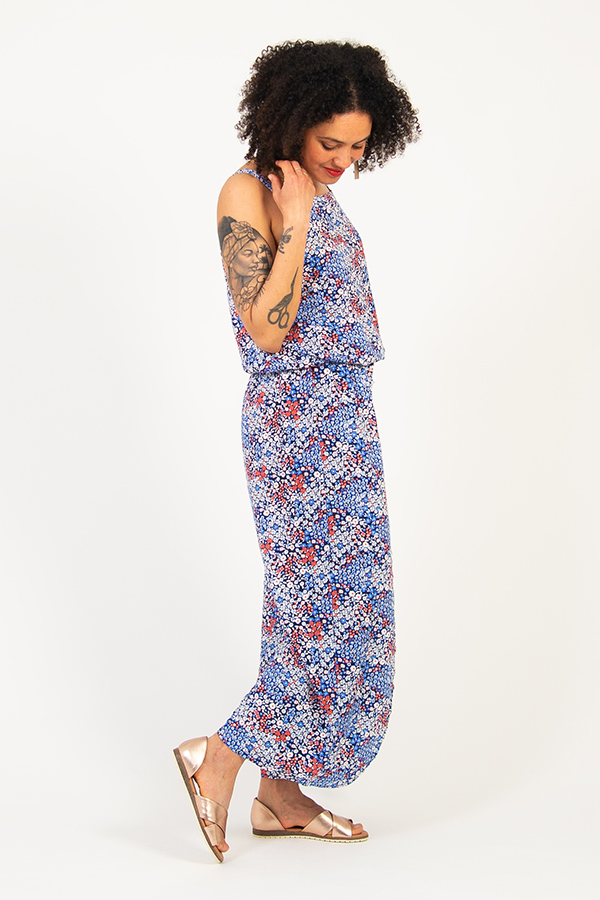
I AM Hélios is a pattern with seven different designs, allowing you to sew a complete summer capsule wardrobe. Create your own style with a top with adjustable straps and on-trend straight neckline, paired with a skirt, shorts or trousers. Combine the top and the bottoms to create a dress, a playsuit or a jumpsuit, all with Italian pockets.


Instructions
Staystitching prevents stretching the edges cut on the bias. To staystitch, stitch within the seam allowance, 5/16’’ (8 mm) from the edge of the fabric along the armholes of pieces 1, 2, 3 & 4.
Fold the front right side together on itself and match up the dart legs using the notches. Sew from the dart leg to the dart point. Start with a backstitch and finish with leaving a 2’’ (5 cm) thread tail that you secure with a double knot. Press the dart downwards.


Repeat for the other side.
Fold both lengths of a strap 3/8’’ (1 cm) on the wrong side and press.

Fold one end 3/8’’ (1 cm) towards the wrong side and press.


Fold the strap lengthwise and press. Pin in place and topstitch 1/8’’ (2 mm) from the edge, along the lengths and the folded end in one go. Press.


Repeat the steps for the second strap.
Fold both lengths of a strap tab 3/8’’ (1 cm) on the wrong side and press. Fold the strap tab lengthwise and press. Pin in place and topstitch 1/8’’ (2 mm) from the edge, along both lengths. Press.


Repeat for the other strap tab.
Place one strap right sides together on the back bodice. Place it 3/8’’ (1 cm) from the armhole corner with raw edges aligned. Pin in place and sew at 3/16’’ (5 mm) to hold everything in place. Press.


Repeat for the second strap.
Insert a strap tab inside a tri-glide slider. Fold the strap tab in half.

Place the strap tab right sides together on the front bodice. Place it 3/8’’ (1 cm) from the armhole corner with raw edges aligned. Pin in place and sew at 3/16’’ (5 mm) to hold everything in place. Press.


Repeat for the second strap tab.
Finish the bottom edge of each facing.


Place the front facing and the front bodice right sides together. Pin along the neckline and the armholes. Sew at 3/8’’ (1 cm) in one go.


Clip the curves and trim the corners. Turn right side out and press to prevent the facing showing on the right side.


Understitch the facing and the seam allowances together 1/8’’ (2 mm) from the first stitch. Do not stitch through the garment. You won’t be able to stitch in the corners so understitch as much as you can at the neckline then understitch the armholes separately. Press.


Repeat for the front bodice.


Place the front bodice and the back bodice right sides together. On one side, lift the facings and place them right sides together. Pin along the side seam of the garment and the facing. Sew at 3/8’’ (1 cm) in one go. Finish the seam and press it towards the back.


Repeat for the other side.
Secure the facing inside the garment by hand stitching them together at the side seams.

The bodice is now done. Let’s sew the trousers now.


Place the front legs right sides together. Align them along the crotch. Pin in place and sew at 3/8’’ (1 cm). Finish the seam and press it towards the left leg.


Repeat to sew the back crotch but press the seam towards the right leg.
Place the front and the back right sides together. Align them along the inseam and match the centre front seam with the centre back seam. Pin in place and sew at 3/8’’ (1 cm) along the inseam. Finish the seam and press it towards the back.


Place one side front on the back right sides together and align them at the side. Pin in place and sew at 3/8’’ (1 cm). Only stitch through the back and the side front. Do not stitch through the front. Finish the seam and press it towards the back.


Repeat for the other side.
Finish the raw edge of each side of the trousers. For each, start at the top of the front leg and finish at the top of the side front.


Fold and press the bottom of the trousers 3/8’’ (1 cm) towards the wrong side. Pin in place and sew at 5/16’’ (8 mm) all along to hem the garment. Press.


Repeat for the other side.
Place the wrong side of one side front on the right side of its corresponding front leg. Align the top edge of the side front with the notch at the waist of the front. Pin in place and sew both layers in place at 8/16’’ (5 mm) to hold them together. Press.


Repeat the steps for the other leg.
On one waistband, mark the placement of the buttonholes as shown on the pattern. Sew and open them.
This waistband will be referred to as the outer waistband. The other one, which doesn’t have any buttonholes, will become the inner waistband.


On the right side of the outer waistband, using a tailor’s chalk mark the topstitch lines 1″ (2.5 cm) from the top and the bottom of the waistband.
Fold the outer waistband (with buttonholes) right sides together in order to align the centre back ends. Sew at 3/8’’ (1 cm) all along.

Fold the inner waistband (without buttonholes) right sides together in order to align the centre back ends. Sew the bottom and the top of the waistband at 3/8’’ (1 cm) but only for 3/8’’ (1 cm) each which corresponds to the seam allowance (NN). Baste the opening by hand at 3/8’’ (1 cm).

Press the seams open.

Place the bottom of the garment inside the outer waistband (bottom up) right sides together. Insert the inner waistband (bottom up) into the garment in order to have the right side of the waistband against the wrong side of the garment. Align the raw edges of the three layers.
Match up the centre backs together, the centre fronts together, and the notches on the waistbands with the side seams. Pin in place. Sew through all three layers at 3/8’’ (1 cm) all around.


Press the waistbands upwards, wrong sides together. On the right side of the garment, topstitch at 1/8’’ (2 mm) along the bottom of the waistband.


Press.
On the top of each waistband, press the 3/8’’ (1 cm) seam allowance towards the wrong side.

Place the waistbands wrong sides together. Match up the centre fronts together, the centre backs together and the side seams together. Baste along the top of the waistband.


Topstitch the waistband following the two lines traced at step 15 (now at 5/8’’ (1.5 cm) from the top and the bottom of the waistband). Press.


To help insert the bodice into the waistband and be very precise, make marks all around the bottom of the bodice at 3/8’’ (1 cm) using a tailor’s chalk.
Remove the basting stitches at the top of the waistband. Insert 3/8’’ (1 cm) of the bodice between the two waistbands. Match up the centre backs together, the centre fronts together, and the notches on the waistbands with the side seams*. Pin in place. On the right side of the garment, topstitch at 1/8’’ (2 mm) along the top of the waistband and press.


Remove the basting stitches to open the casings inside the waistband and insert the drawstring in the middle casing.
Cut two lengths of elastic tape. Each length corresponds to your waist measurement.
Insert the elastic tapes inside the top and bottom casings, making sure not to twist them (XX). Overlap the ends of each elastic tape over 5/8” and sew them together thoroughly.
Set the elastic tapes free and close the openings. Distribute the gathers evenly and close up all casings by hand using an invisible stitch.


Depending on the weight of the fabric, the trousers will open wider or narrower. If you feel the trousers open too high or even too easily, stitch the inner front panel to the seam allowance at the side seams by hand. Put the garment on and assess where it is best to stitch them together for yourself. As a reference, we stitched one of ours 6’’ (15 cm) from the bottom of the waistband.
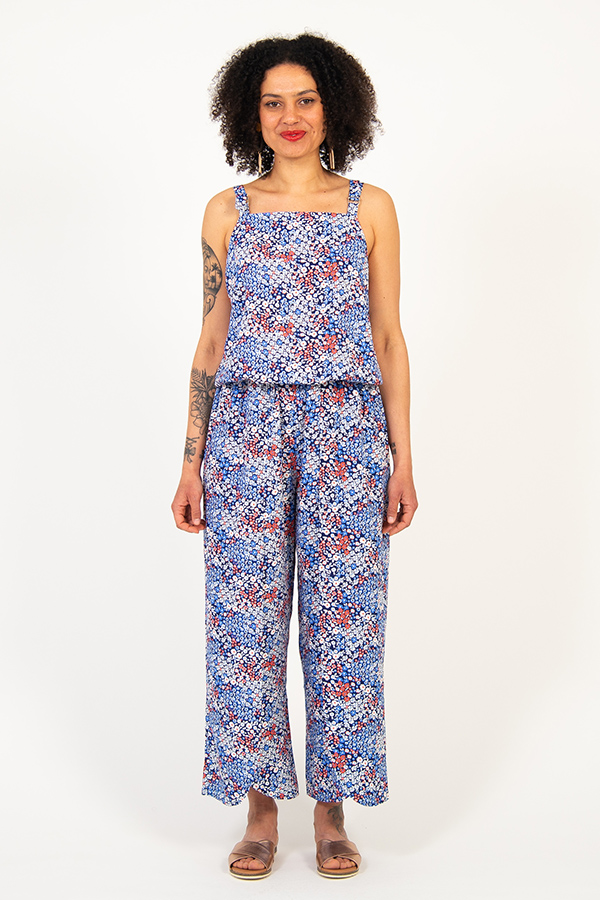
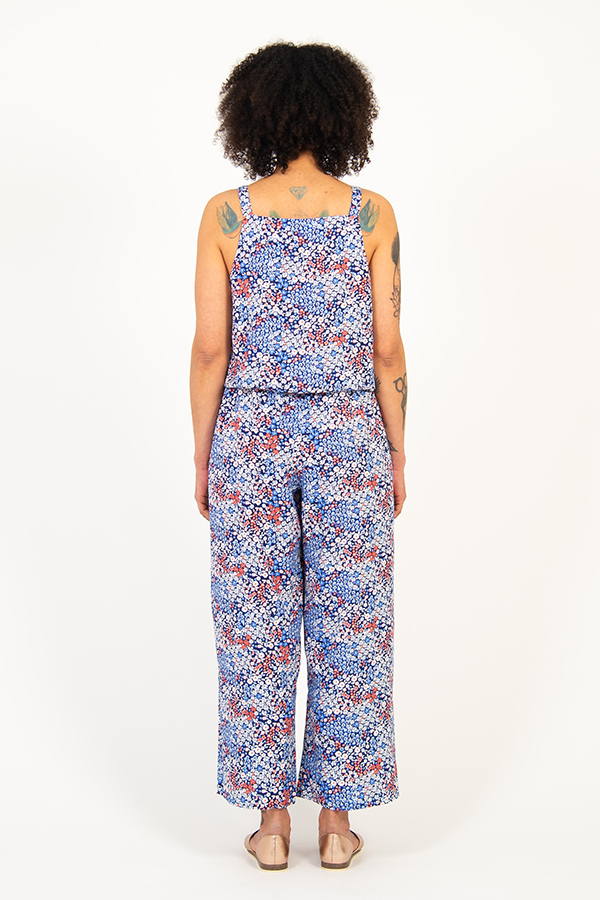
It’s finished!
Ta-dah! Your amazing jumpsuit is complete! We hope you enjoy strutting your stuff in this new outfit. We would love to see your finished garment, please do share photos on Instagram and tag @iam_patterns and use #iampatterns et #iamhelios

Many thanks to Emilie from @mggplusplus for making this step by step sew along.