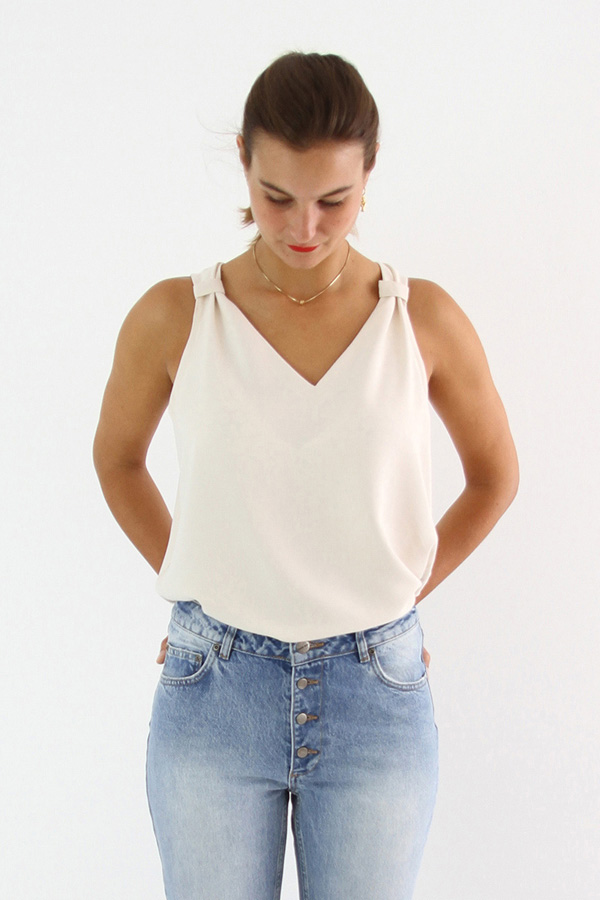
Simple patterns are often the ones we wear the most and the one that get hacked the most too. It’s the case of I AM Gaïa, a cami top with a V-Neckline. Its elegance lies in the ribbons which gather the fabric at the shoulders. It’s simple, whether it be in Tencel, poplin, Tencel or cotton voile, in summer, you will wear Gaïa every day.


Cindy @ledressingdecindy on Instagram, has already sewn a few Gaïa cami tops but wanted to revisit this classic cami top to make a simple dress with a V neckline in the back. In fact she loves it so much that she has sewn 3 versions. Two in sequins et one in linen on which she added a big bow at the shoulders.


This hack features 3 main changes:
- first she created the v-neck
- then she lengthened it to make it a dress
- finally she added an optional bow on one of the shoulder
You will need the original I AM Gaïa patterns to make this dress. If you don’t have it yet, discover it now.
01 — Preparing the pattern
Download the PDF add on, print it and cut the pattern pieces.
For the back piece (piece #2) align the add-on piece of the print out at the shoulder and on the center back with the original back piece and trace the hacked pattern piece.
For the dress version, lengthen the Front and Back pieces by 10 5/8” (27 cm). at the bottom. Make sure to recreate the curve at the bottom of the Front piece.
02 – Yardage (in cm)
For the dress version, you need to lengthen the Front and the Back by 10 5/8” (27 cm) and so the yardage for the dress is as follows:
| Fabric | 34 – 36 | 38 – 40 | 42 – 44 | 46 – 48 | 50 – 52 |
| 55” wide fabric | 110 | 115 | 115* | 120* | 225 |
| Tissu en 43” | 210 | 215 | 220 | 225 | 225 |
XXXX
| Fabric | 34 – 36 | 38 – 40 | 42 – 44 | 46 – 48 | 50 – 52 |
| 55” wide fabric | 105 | 110 | 110* | 115* | 215 |
| Tissu en 43” | 200 | 205 | 210 | 215 | 215 |
*For sizes 42 to 48 the Front and the Back can fit on one width of a 55” wide fabric but it will be a bit of a squeeze so make sure to cut the fabric conservatively. If the width of the fabric is a less than 55” (140 cm) wide, then, follow the yardage and layout plan that are given for the 43” (110 cm) wide fabrics.
03 – Cutting the fabric
Cut the following pieces as indicated on the pattern
- Front: cut x 1 on fold
- Back: cut x 1 on fold
- Front Facing: cut x 1 on fold
- Back Facing: cut x 1 on fold
- Optional – Tie: cut x 1 on fold
- Optional – Tie: cut x 1
02 – Sewing
Sewing the shoulders
Place the front and the back right sides together aligning the shoulders. Pin in place and sew at 3/8’’ (1 cm). Finish the raw edges and press the seams towards the back.

Preparing the facing
Place the front facing and the back facing right sides together aligning the shoulders. Pin in place and sew at 3/8’’ (1 cm). Finish the raw edges and press the seams towards the front.

Finish the raw edge along the outer curve of the facing.
Sewing the neckline
Place the facing and the neckline right sides together. Match up the center fronts, center backs and the shoulder seams. Thoroughly pin in place around the neckline to prevent it from stretching when sewing. Sew at 3/8’’ (1 cm).

Notch into the curves to allow the seam to sit flat. Carefully clip the seam allowance of the center front V-shaped angle up to 1/16’’ (1 mm) from the seam. Turn right side out and press to ensure the facing stays inside the garment.

Understitch the facing and the seam allowances together 1/8’’ (2 mm) from the first seam to maintain it in place

Sewing the side seams
Place the front and the back right sides together aligning the sides and pin in place. Sew at 3/8’’ (1 cm) and finish the raw edges.

Finishing the armholes off
Unfold one side of the bias tape. Place the bias tape and one armhole right sides together aligning the edges. Fold the end of the bias tape on itself.

Sew along the crease line. When arriving back at the start, sew 3/8’’ (1 cm) of bias tape on top of the one already stitched. Cut the excess bias tape.

On the garment only, notch into the curves. Do not make notches on the bias tape.
Press the bias tape towards the inside of the garment and topstitch all around the armhole. Repeat for the other side.

Repeat for the other side.
Hemming the garment
At the bottom of the garment, fold 3/8’’ (1 cm) towards the wrong side and press. Fold again 3/8’’ (1 cm) on the wrong side and press. Pin in place and topstitch all around.

Adding the bow – optional
Fold the bow piece right sides together lengthwise. Sew at 3/8” (1 cm) from one end to the other but leave a 5” (12 cm) opening to be able to turn the bow right side out.

Trim the corners and turn right side out through the opening. Press and close the opening by hand.
Fold the bow right sides together with both ends touching. Sew at 10” (25 cm) along the width of the bow.

Place the fold on the seam you just made to form the bow and hold it in place by stitching by hand. Those stitches will be hidden by the tie.

Fold the tie piece right sides together lengthwise and we all along at 3/8” (1 cm). Turn right side out and finish the raw seams of the ends. Those will be placed underneath the bow and won’t be visible in the end.
Place the bow on the shoulder and use the tie to tie around the bow on top of the stitches you just did. Overlay both ends of the tie on each other and sew through both layers to hold the bow in place.
You’ve finished!
Yes, that was that easy. Your I AM Gaïa is finished. Congratulations! We’d love to see it. Please share it with us on Instagram: @iam_patterns, #iampatterns and #iamgaia