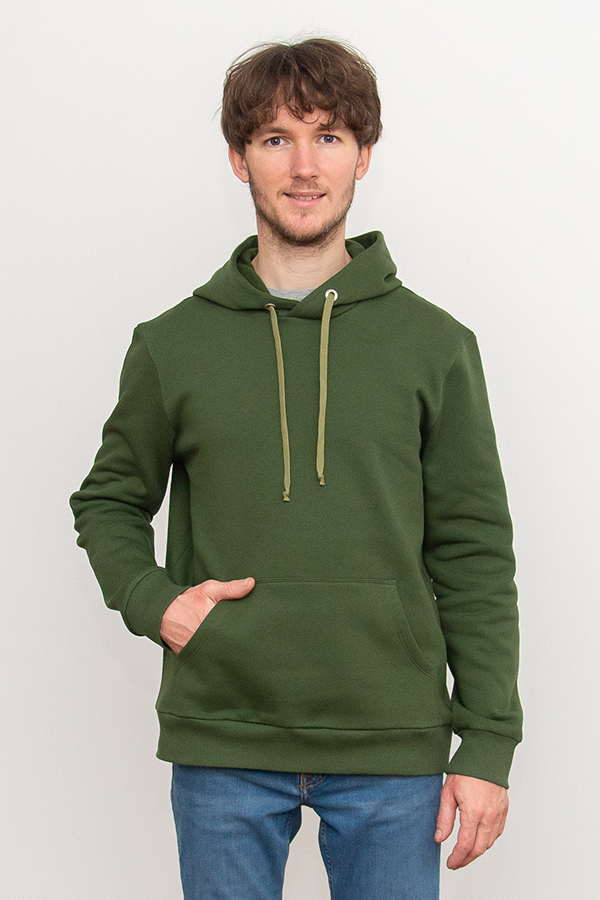
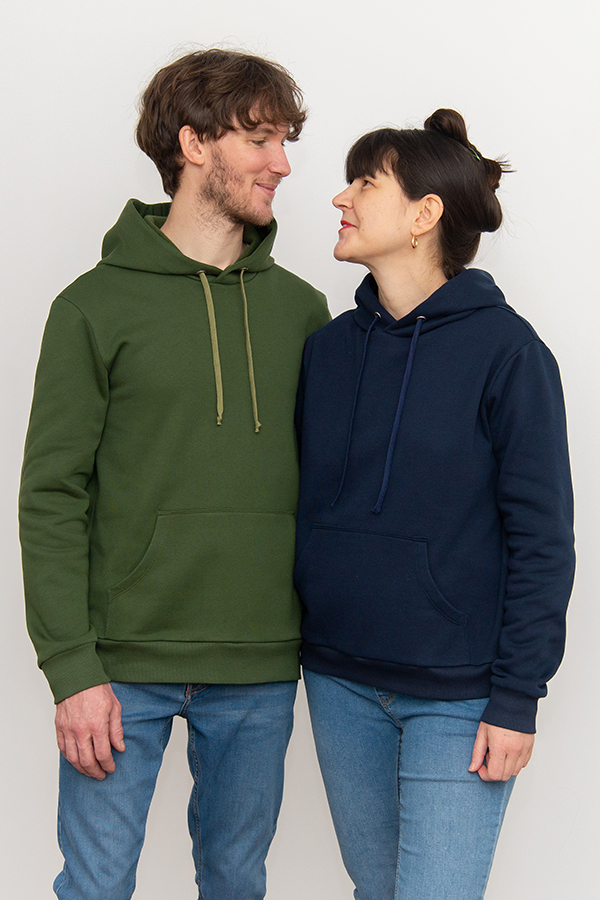
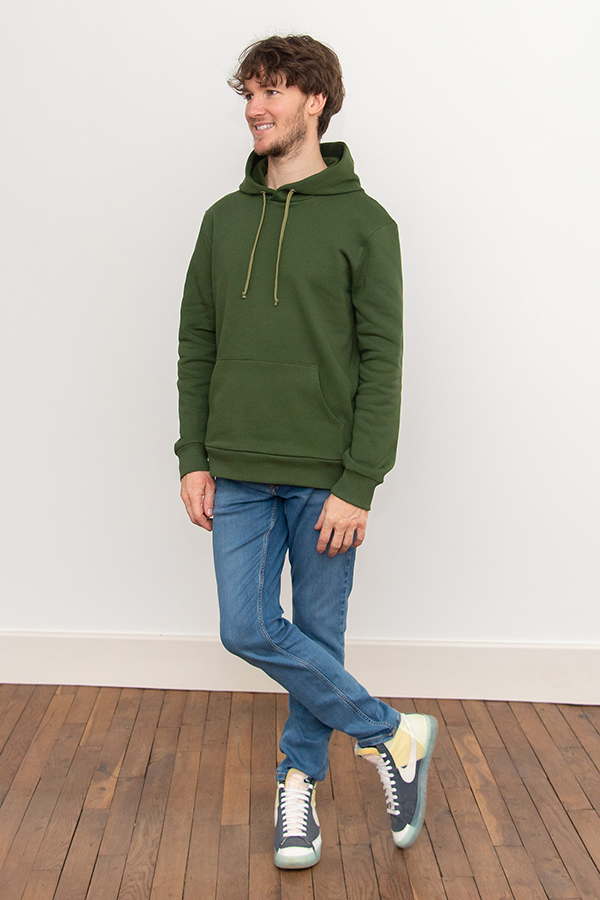
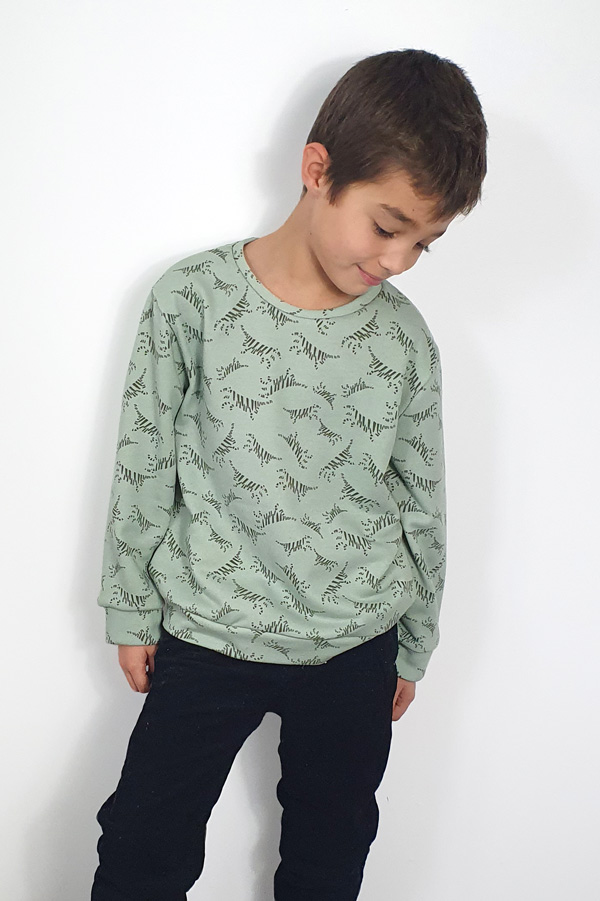
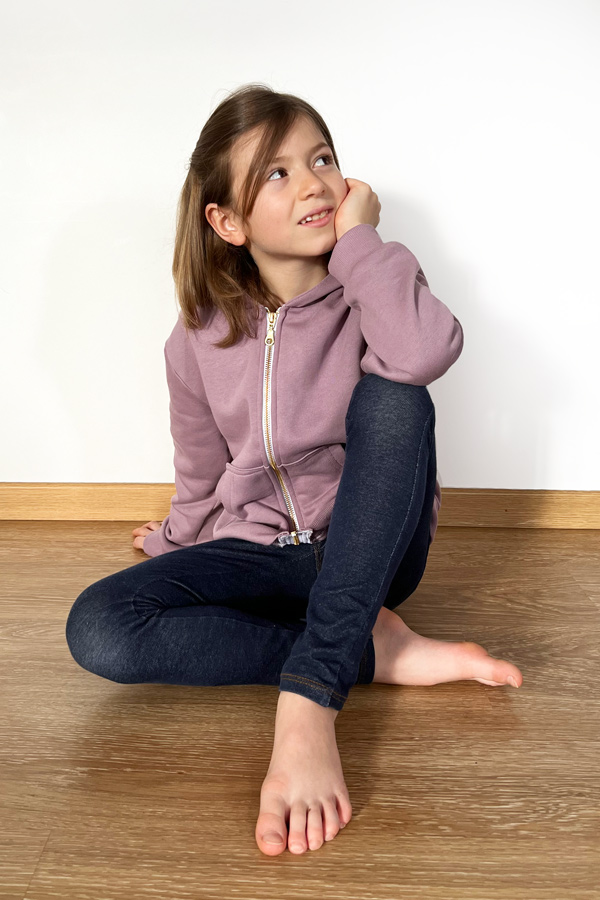
I AM Rainbow has been one of your favourite sewing patterns from I AM A Miracle, our last collection. Indeed, this pattern allows you to make multiple versions (more than 70 versions) and therefore reuse the pattern according to your fancy and needs. Following the many requests we received, two weeks ago we launched I AM Rainbow for men (30 versions) and also I AM Rainbow Mini, the sweatshirt for children (50 unisex versions from 3 to 14 years). With these 3 patterns it’s over 150 different sweatshirts that you can sew for the whole family. Yes, yes, more than 150 versions


As the sewing patterns have many versions, we have simplified the instructions but today it’s time to give you the instructions to line the hoods of your I AM Rainbow sweatshirts.
The two methods described below are valid for the classic hoods and overlapping hoods of the three Rainbow sewing patterns.
Are you ready? Let’s go.
Choosing the fabric for the lining
First, we’re going to talk about fabric. Obviously, lining the hood will add one extra layer of fabric along the neckline and so for the lining we advise you to choose a slightly thinner fabric than the fabric of the outer hood. In our opinion, it is important to use a jersey fabric in order to be able to make it entirely using an overlocker but also to preserve the stretch at the neckline to be able to pull the sweatshirt over the head for the pull-over sweatshirts. For the zipped hoodies you can consider a woven fabric as the neckline is open and you don’t need the stretch.
Have you found the perfect fabric? Let’s start then.
Method 1 – The simplest way to line a hood
Really the simplest way to double a hood is to sew 2 different hoods together. And you can work with the original pattern pieces which saves a bit of time. Follow the guide to know how to do this step by step.
Cutting the fabric
Cut the hood (piece 5 or 7 depending on the hood you want to use) 2 times in the outer fabric and 2 times in the lining fabric
Do not cut the facing (pieces 6 or 8 depending on the hood)
Preparing the outer hood
Apply interfacing on the wrong side of the outer hood pieces to reinforce the position of the eyelets. Add the eyelets. The centre of the eyelet is indicated by a cross on the pattern.
Note: men and women versions only as there is no drawstring on the kid’s pattern.
Preparing the hoods
Place both outer hood pieces right sides together and align them. Pin in place along the longer curve and sew at 5/16” (7 mm). Looking at the wrong side of the hood, press the seam towards the right-hand side.
Repeat those steps to sew the lining hood.

Sewing the lining and the outer hoods together
Place the outer hood and the hood lining right sides together and match up the seams. Pin in place and sew at 5/16” (7 mm).
Place the lining inside the outer hood and press.
For the men and women versions, place the drawstring cord inside the hood through the eyelets.

Topstitching the hoods together
Using the sewing machine, on the right side of the hood, double topstitch to hold the facing to the hood as follows: the first stitch 1 5/8” (4 cm) from the opening of the hood and the second 1 3/4” (4.5 cm) from the opening of the hood (3/16” (5 mm) gap). Be careful not to sew through the drawstring.

Is it finished?
Yes, that’s all there is to it. 🙂 Now you just have to follow the same instructions to sew your lined hood to the bodice of the sweatshirt.
Method 2 – Lining the hood but keeping the facing
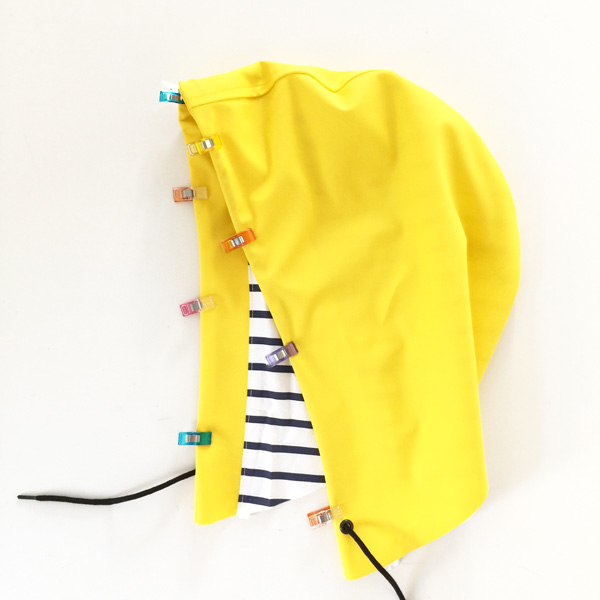
Although this method requires a bit of preparation, it will allow you to play with contrasting fabrics. Cut the facing in the same fabric as the outer hood and choose another fabric (and maybe even a patterned fabric) for the lining of the hood. This is what we did on the hood of the I AM Jacques raincoat. Try it, it’s fun.
Preparing the pieces
Take all your tracing tools and let’s start.
Drafting the hood lining piece
Place the hood facing pattern piece (piece 6 or 8 depending on the hood) on the hood pattern piece (piece 5 or 7) right sides together and align them on the outer edge (opening of the hood)

On the hood piece, using a sharp pencil, trace the inner edge of the hood facing (red dotted line on the illustration below). This will be the seam line of the hood lining and the facing.

Remove the facing piece and add a 5/16” (7 mm) seam allowance toward the outer edge of the hood (green line in the illustration below).

Cut the Lining Hood pattern piece you just created (piece 21).

Adding seam allowance to the facing
Add 5/16” (7 mm) seam allowance along the inner edge of the facing only (green line in the illustration below) and cut the new hood facing pattern piece you have created.

The hardest part is behind you. Now it’s all cutting and sewing fun. 🙂
Cutting the fabric
Cut the Hood piece (5 or 7) twice in the outer fabric.
Cut the new Hood Facing piece (with added seam allowance) twice in outer fabric.
Cut the Hood Lining piece twice in the lining fabric.
Preparing the outer hood
Place both hood pieces right sides together and align them. Pin in place along the longer curve and sew at 5/16” (7 mm). Looking at the wrong side of the hood, press the seam towards the right-hand side.

Prepare the hood lining
Place both hood lining pieces right sides together and align them. Pin in place along the longer curve and sew at 5/16” (7 mm) (UU). Looking at the wrong side of the hood, press the seam towards the left-hand side.

Preparing the hood facing
Place both hood facings right sides together and align them at the top. Pin in place and sew along the top at 5/16” (7 mm). Looking at the wrong side of the facing, press the seam towards the right-hand side.

Sewing the hood lining and the hood facing
Place the hood facing and the hood lining right sides together and align them along the small curve. Pin in place and sew at 5/16” (7 mm). Looking at the wrong side of the facing, press the seam towards the lining.

Sewing the hood lining and the outer hood together
Place the outer hood and the hood lining right sides together and match up the seams. Pin in place along the small curve and sew at 5/16” (7 mm). Place the facing inside the hood and press.
For the men and women versions, place the drawstring cord inside the hood through the eyelets.

Topstitching the hoods together
Using the sewing machine, on the right side of the hood, double topstitch to hold the facing to the hood as follows: the first stitch 1 5/8” (4 cm) from the opening of the hood and the second 1 3/4” (4.5 cm) from the opening of the hood (3/16” (5 mm) gap). Be careful not to sew through the drawstring.

It was quite simple in the end don’t you think?
Yes, it’s finished. I am certain it was easier than you thought and the finish is quite professional. Well done. Now, carry on with the instruction booklet to finish your sweatshirt.
Share your make
Slip it on, take a picture and share it on Instagram with the following tags : @iam_patterns, #iamrainbow et #iampatterns so we can admire your make.