I AM Octarine is a sewing pattern created in collaboration with Marie-Claire Idées.
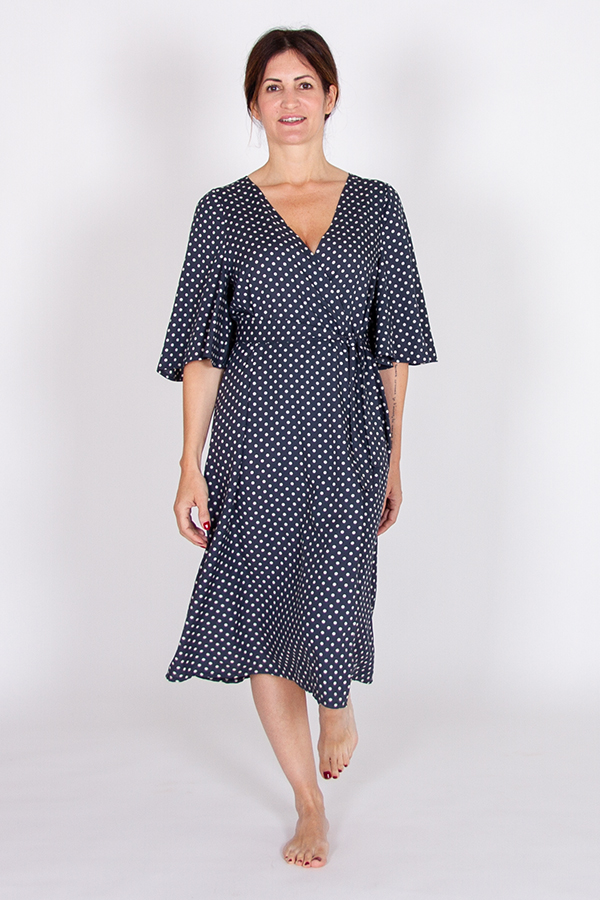
Octarine is a chic and timeless wrap dress. Perfect in linen and viscose in summer or velvet in winter, Octarine can be sewn again and again to be enjoyed year-round.
With just a few steps, Octarine is a perfect sewing pattern for beginners.
Below, we’ll take you through the process of sewing your dress step-by-step. To make it more readable, we have separated the stages into sections. For each step you will find written instructions accompanied by several pictures. When one step is finished, click on the next title to display the desired content. Click on the photos to isolate them and enlarge them if required.
I AM Octarine
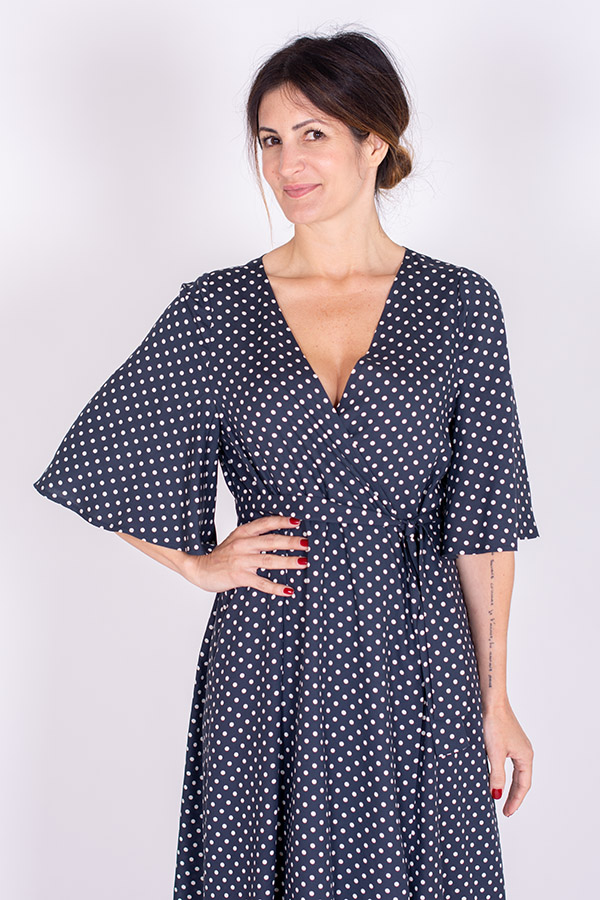
I am Octarine, a classic wrap dress that is equal parts stylish and graceful. Fluid fabric gives me an elegant silhouette, with added definition from my fitted waist detail and removable belt. I have a deep v-neck, elbow length butterfly sleeves, and I sit elegantly at the knee.
Instructions
Sewing the belt
Place both belt pieces right sides together. Pin in place and sew one of the ends 3/8’’ (1 cm) from the edge. Press the seam open.
Fold the belt in half lengthwise right sides together. Sew all along the length at 3/8’’ (1 cm).
Press the seam open. Turn right side out and press.
Fold each end of the belt 3/8’’ (1 cm) towards the inside and press. Sew each end at 1/8’’ (2 mm).
Stabilising the neckline
This stage has not been done for the step-by-step unfortunately but it is highly recommended in order to avoid stretching the neckline.
This will also help guide you when hemming. Place the fusible side of the seam tape on the wrong side of each front as follows: start at the shoulder and end a bit after the curve of the waist. Iron it on.
Follow the same instructions to stabilise the neckline of the back piece.
Sewing the pleats
Fold one front right sides together on itself making sure to match up the markings of the pleat. Pin in place and sew along the pleat line for 2 3/4’’ (4 cm). Press the seam towards the side.
Follow the same instructions for sewing the pleats of the other front and back pieces.
Sewing the shoulders
Place the back and one front right sides together and align them at the shoulder. Pin in place and sew at 3/8’’ (1 cm). Finish the seam. Press the seam towards the back.
Repeat for the second shoulder.
Sewing the sleeves
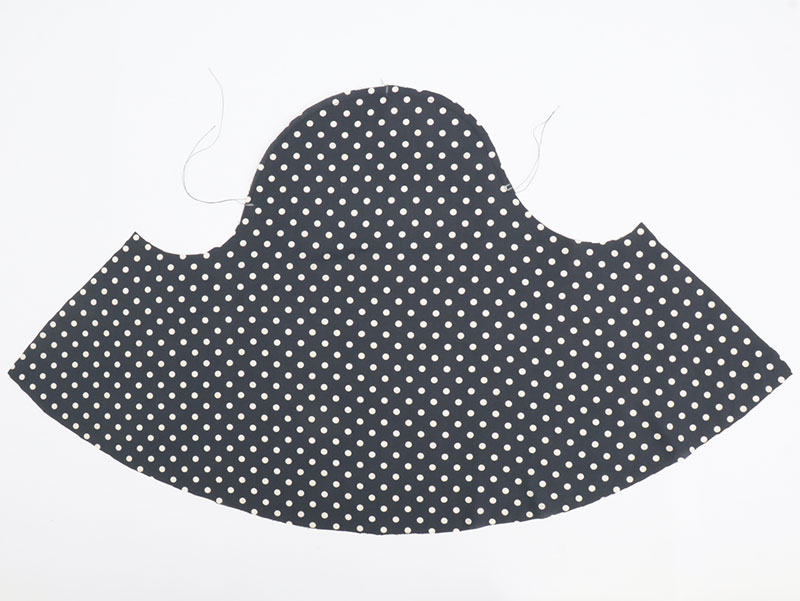
Sew a row of long length stitches on one sleeve cap between the notches, 5/16’’ (8 mm) from the raw edge. Do not backstitch and leave around 4’’ (10 cm) of thread at both ends.
Place the sleeve and its corresponding armhole right sides together. Match up the notches and pin in place. Gently pull the thread tails until the sleeve cap and the armhole are the same length. Spread the ease out evenly between the notches. Pin in place all along the sleeve cap.
Sew at 3/8’’ (1 cm). Finish the seam.
Finish the raw edge at the bottom of the sleeve and then repeat the steps to sew the second sleeve.
Sewing the side seams
Place the front and the back right sides together. Pin along the side seam and the sleeve seam, neatly matching up the underarm seams. Sew at 3/8’’ (1 cm) from the bottom of the sleeve to the bottom of the garment. Finish the seam. Press the seam towards the back.
Repeat to sew the other side seam.
Hemming the neckline
Finish the raw edge of the fronts and the neckline in one go. Start at the bottom of one front and finish at the bottom of the other front.
Fold and press this edge 3/8’’ (1 cm) towards the wrong side. Pin in place and sew 5/16’’ (7 mm) all along to hold the seam in place. Press.
Hemming the bottom of the garment
Finish the raw edge at the bottom of the garment. Fold the bottom of the garment 3/8” (1 cm) towards the wrong side and press. Pin in place and topstitch 5/16’’ (7 mm) from the edge to hold the hem in place.
Hemming the sleeves
Fold the bottom of each sleeve 3/8’’ (1 cm) towards the wrong side and press. Pin in place and topstitch 5/16’’ (8 mm) all around. Repeat to hem the other sleeve.
Sewing the snap fasteners
Slip the garment on and close the fronts. Decide on the position of the snap fasteners to fit your waist and mark them using a pin. Sew the snap fastener by hand making sure that it shows as little as possible on the right side of the garment.
Optional: sew a hook and eye where the necklines meet to avoid it opening.
And there you have it, your I Am Octarine is complete! Congratulations! We would love to see your finished garment, please do share photos on Instagram and tag @iampatterns and use #iampatterns #iamoctarine


