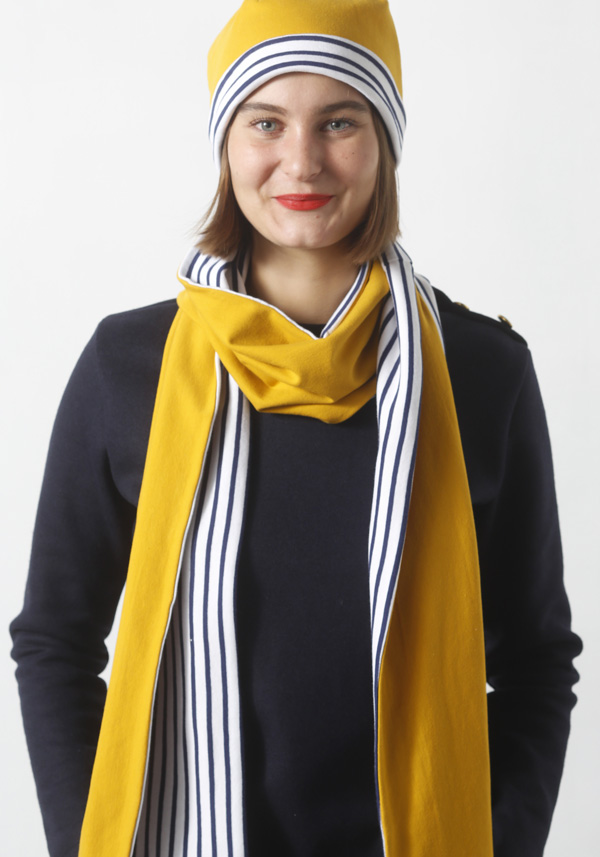
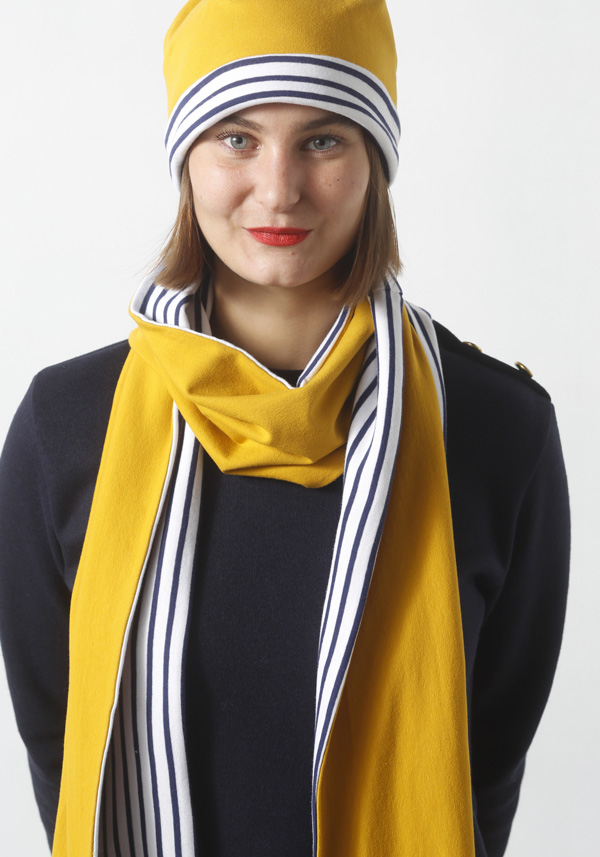
To round off the I AM A Sailor collection we wanted to propose a hat and a scarf. Those 2 timeless models are made in a jiffy. You will love sewing them. Christmas is fast approaching; why not sew some for your loved ones. Sew them now and place them under the tree or in their stockings.

Information and preparation
Download the complimentary pattern for the I AM Michel hat and trace the pattern directly on the fabric for the I AM Michelle scarf. Seam allowances are included in the pattern. They are both one-size fits all and they are both made out of jersey. It is better to sew them using a serger but it’s also possible to sew it using a sewing machine.
PREPARING THE MACHINES
PREPARATION OF THE SERGER
Prepare the serger for a 4-thread overlock stitch (4 threads, using 2 needles). Adjust the settings to assemble the garment with a 3/16’’ seam allowance. In the sewing process, each time it is indicated to sew, it should be with this setting.
Note: it is better to prepare the work with clips rather than pins to avoid breaking the knife of the serger.
PREPARING THE SEWING MACHINE
It is advised to assemble this pattern using a serger (see above) but it’s also possible to use a sewing machine. However, you’ll need to: – Add 3/16’’ seam allowance around each piece of pattern except for the lines on fold indicated with this symbol:

– Change the needle for a ballpoint needle. – When indicated to sew, do it with a 3/8’’ seam allowance. – Reinforce each seam with a backstitch at the beginning and at the end.
The I AM Michel hat
SUPPLIES
Outside hat: 12’’ by 26’’ of light jersey for sweatshirt
Inside hat (lining): 12’’ by 26’’ of light jersey for sweatshirt
PREPARING AND CUTTING THE FABRIC
Download the complimentary pattern, print it and assemble it.
For each fabric, cut the pattern once on the fold. Fold the fabric in half, selvedge against selvedge and place the pattern on the fold. The symbol for the fold line on the pattern is:
INSTRUCTIONS
1/ Start by sewing the piece that you cut for the outside hat. Fold the hat in half right sides together. Align one dart as indicated on the illustration below. Pin or clip in place and sew. Sew the other darts following the same instructions.

2/ Fold the outside hat in half, right sides together and align the sides as indicated on the illustration below. Pin or clip in place and sew the side.

3/ Sew the lining. Follow the instruction in step 1 to prepare the lining.
4/ Fold the lining in half, right sides together and align the long edge. Pin or clip in place and sew. Important make sure you leave a 2’’ opening on the straight line to be able to turn the hat right side out later.
5/ Place the hat and the lining right sides together and align them at the bottom. Pin or clip in place and sew the bottom.

6/ Turn the hat right side out using the opening on the lining. Press.
7/ Close the opening by hand using an invisible stitch.
THE I AM Michelle scarf
SUPPLIES
Scarf: 24’’ by 47’’ of light jersey for sweatshirt
Scarf lining: 24’’ by 47’’ of light jersey for sweatshirt
PREPARING AND CUTTING THE FABRIC
Cut 2 rectangles of 44 ½’’ by 10 ¼’’ in each of the fabric.
INSTRUCTIONS
1/ Place the 2 pieces of the outside scarf light sides together and align one side. Clip or pin in place and sew. Press. Repeat the instructions to assemble the 2 pieces of lining.

2/ Place the scarf and the scarf lining right sides together and align all their edges. Pin or clip in place and sew all around. Make sure to leave a 8’’ opening.
3/ Turn the hat right side out using the opening on the lining. Press. Close the opening by hand using an invisible stitch.

Share your make
Your I AM Michel hat and I AM Michelle scarf are now finished. Share them on social media with @iam_patterns #iammichel, #iammichelle #iampatterns

The I AM A SAILOR collection
Complete the look. Discover the patterns from the I AM A SAILOR collection.


