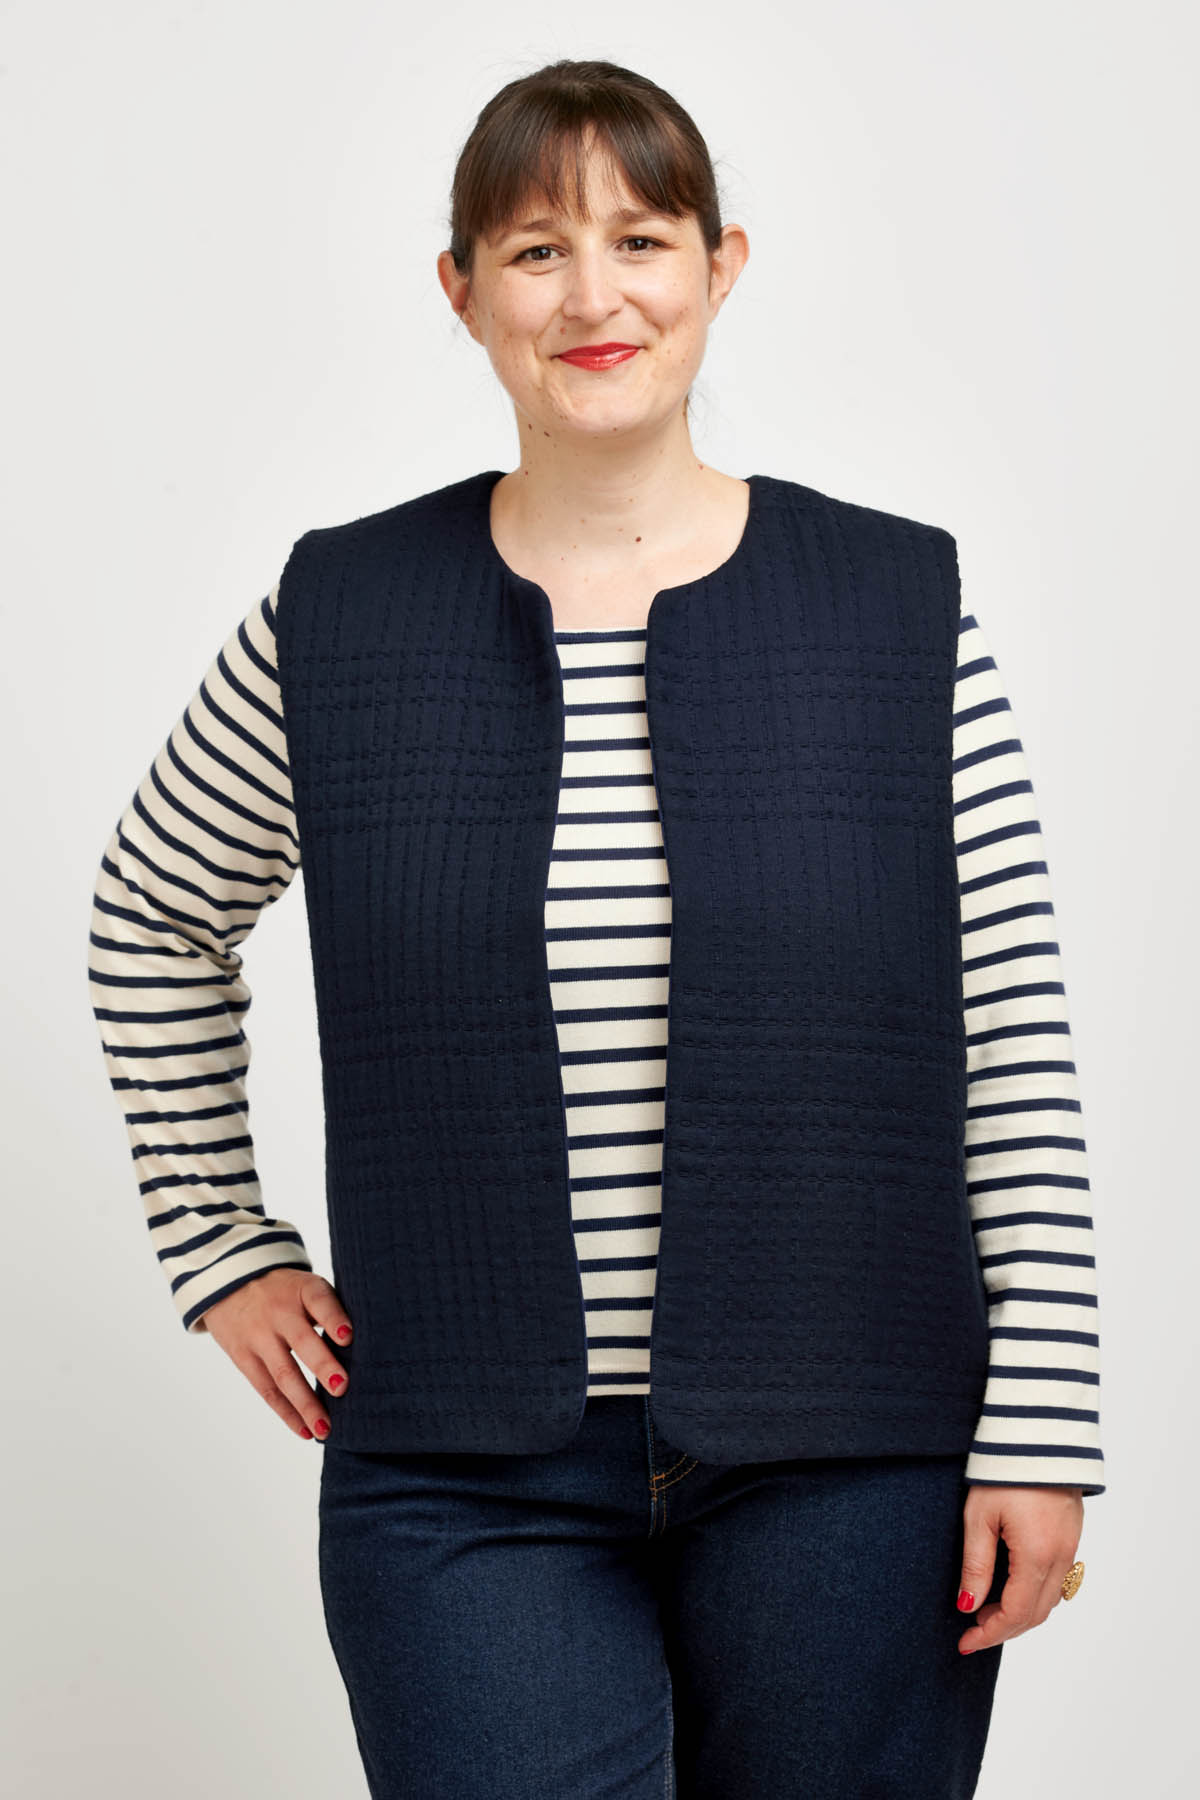
I AM Hathor is THE trendy little sleeveless jacket that goes with everything. With 18 possible versions, you’ve already got plenty of choice, but we wanted to go one step further and offer you a very simple hack that even beginners can pull off.
With all the beautiful reversible fabrics on the market these days, we thought it would be a good idea to offer a hack to make an unlined Hathor jacket with a bias finish along the garment and on the armholes.

I AM Hathor
A sleeveless jacket is a timeless piece that can easily be incorporated into a long-lasting wardrobe. And Hathor is THE perfect little jacket to slip under a coat for the coldest weather, as a mid-season jacket, but also for cool summer evenings. Depending on the fabrics used, it can be worn as a down jacket for a trip into town, to keep you warm on autumn walks, or to protect you on your morning jog. In short, it’s perfect for every season and every occasion.


Instructions
First of all, note that this hack only works for the buttoned and zipped versions without a collar or hood (versions A & B).
As the pattern is no longer lined, the welt pockets will be visible on the back of the garment. If you want to tape the welt pockets for a nicer finish, you’ll need to use more bias than indicated below. Read the tutorial by @mggplusplus to know how to bias bind your welt pockets.
Supplies
You will need the same amount of fabric as indicated on the original pattern for your size.
You will also need 5 yards (4.5m) of bias tape to finish the garment and armholes. Please note, as mentioned above, you will need more bias if you want to tape the welt pockets.
And, of course, you don’t need lining 🙂
Preparing the pattern
As for all our sewing patterns, I AM Hathor includes seam allowances. For this one, the seam allowances are 1 cm. And because this version is unlined, you’ll need to remove the seam allowances from the armholes, neckline, centre front and bottom of the garment.
On the front piece, use a Japanese ruler (and a French curve if you have one) to trace the pattern, removing 1 cm along the length:
- on the armhole
- on the neckline
- on the centre front
- at the bottom of the garment
On the back, use a Japanese ruler (and a French curve if you have one) to trace the pattern, removing 1 cm along the length:
- on the armhole
- on the neckline
- at the bottom of the garment
In the illustration below, the lines in black are the original outlines of the pattern pieces, the removed seam allowance are shown in grey and the lines in red are the new pattern pieces outlines.

Cutting the fabric and preparing
Cut the pattern as indicated on each pattern piece (2 mirrored fronts and 1 back cut on the fold), following the new outline.
Finish the shoulders and sides of each piece.

Sewing the jackets
Sewing the pockets
Sew the pockets you want, following the instructions in the booklet.
Please note that, as mentioned above, the welt pockets will be visible on the inside of the garment. If you want to finish your garment and bias bind the seams, follow the instructions on the article dedicated to the finishing touches of I AM Rainbow.
Sewing the shoulders
Make sure that you have finished the shoulders as indicated above. Place the back and left front right sides together and align them at the shoulder. Sew at 3/8” (1 cm). Press the open seam. Repeat to sew the other shoulder.


Sewing the side seams
Make sure that you have finished the side seams as indicated above. Place the back and left front right sides together and align them at the side. Sew at 3/8” (1 cm). Press the open seam. Repeat to sew the other side.


Sew the bias tape
Fold the bias tape in half and press to obtain a 1 cm strip folded in 4, as shown in the illustration below.

Unfold one side of the tape and place it on the back of the armhole right sides together. Align the binding with the neckline and fold the end of the tape 3/8’’ (1 cm) on itself.

Prepare 2 to 4’’ (5 cm to 10 cm) of binding along the armhole. Start sewing along the crease line. Align the binding with the armhole as you go and sew it. When arriving back at the start, sew 3/8’’ (1 cm) of bias tape on top of the one already stitched. Cut the excess bias tape.

Trim to leave only 3 mm of seam allowance.


Fold the bias tape over the seam allowance towards the wrong side of the garment therefore enclosing the armhole between the tape. On the wrong side, accurately place the second fold of the binding on top of the first row of stitching and pin in place.
On the right side of the garment topstitch along the armhole. For a better finish, you can also sew this step by hand.


Repeat for the other armhole.
Sew the bias tape along the front and back
Repeat these operations to sew the bias tape all around the edges of the garment. Start at the back neckline and work your way around the garment.

Add press studs (version A)
Add the press studs as indicated on the booklet.
Sew the zip (version B)
Place the right side of the zip against the wrong side of the front. Pin so that the centre front edges are aligned and cover the zip.
Fold the excess tape to one side.
Pin in place and sew the zip using a sewing machine or by hand.


Other hacking ideas
We hope this tutorial will help you get started on the path of pattern hacking so you can reuse the patterns you already have. And as I AM Hathor is a pattern with simple lines, it really lends itself to hacks. So to take things a little further, here are some unique I AM Hathor creations as seen on Instagram.
V-Neck
As well as finishing her jacket with bias tape @camille.lefrere also changed the neckline to a V-neck. A very simple hack that looks fab.


Slanted pockets
@giscard.co impresses us again with her Hathor jacket with geometric cut-out pockets, a bit like the pockets on our I AM Artémis jacket.


Ties to close the jacket
Forget buttons or zips, follow @blakandblanca‘s footsteps and sew ties down the middle front to close your jacket.


Another style altogether
@joliesbobines takes it a step further with a completely reversible sleeveless jacket that’s open on the sides and closes with a belt. It’s clearly not a hack for beginners, but you can always take inspiration from a few simple details to create your own I AM Hathor jacket.


More about the original pattern
The original I AM Hathor pattern comes in 18 versions, with 3 neckline options, 3 pocket options and 2 ways of fastening. It closes with either snaps or a zip and is fully lined. You can choose between a simple neckline with a beautiful rounded shape, a collar or a hood; as well as patch pockets, welt or no pockets. Sew the sleeveless jacket of your dreams.
