
In March, Cindy of @ledressingdecindy created an 80s style oversized block shirt to celebrate Mondial Tissus‘s 40 years anniversary.
A lot of her followers have loved it so much that they asked for a tutorial. As it’s easier to start from an existing sewing pattern she’s asked us if she could base her tutorial on our our I AM Lucienne shirt.

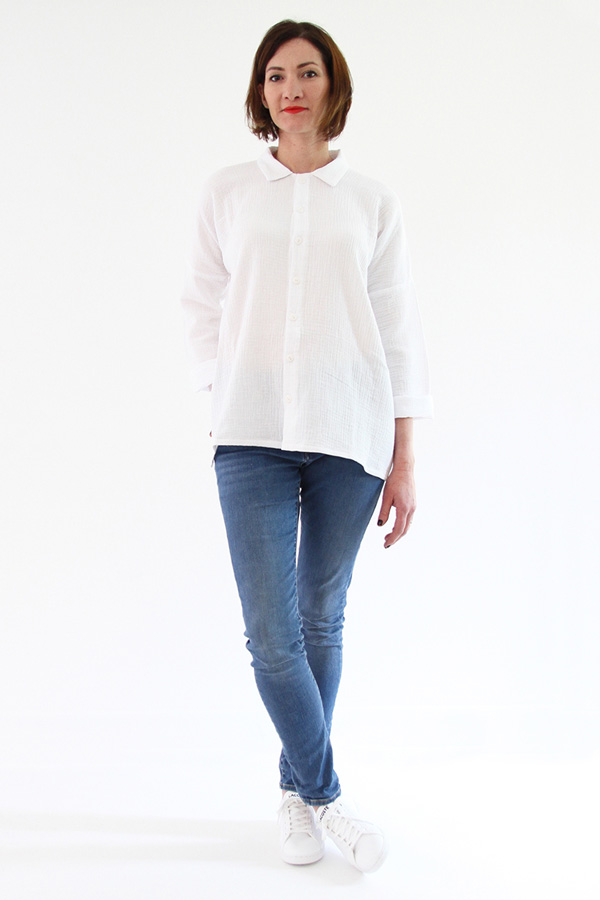
Just like Cindy’s shirt, I AM Lucienne is an oversized shirt with low shoulders. It is extremely easy to make as it was designed for beginners.

Below you will find the instructions to modify the Lucienne sewing pattern. Just like Cindy has done with her shirt, you can play with patterns and colours to create a unique shirt that truly ressembles you.
Modifying the pattern
The front
Trace a line parallel to the front edge (in red on the illustration below). The measurement for where to trace this line to create the piece in pale orange below changes depending on the size. Here is the value for each size:
| Size | Trace the line at |
|---|---|
| 36 | 17 cm (6 5/8”) cm from the front edge of the piece |
| 38 | 17,7 cm (7”) from the front edge of the piece |
| 40 | 18,4 cm (7 1/4”) from the front edge of the piece |
| 42 | 19,1 cm (7 1/2”) from the front edge of the piece |
| 43 | 19,8 cm (7 3/4”)from the front edge of the piece |
| 44 | 20,5 cm (8”) from the front edge of the piece |

Cut the pattern along the red line to obtain 2 pieces: the front (in pale orange) and the side front (in pink).

Add 1 cm of seam allowance along the line you just cut. The added seam allowances are shown in blue in the drawing below.

The collar
Add 1 cm on the top and the side of the collar as indicated in blue in the illustration below.

Cutting the fabric
Do not cut the original sleeve piece
As the sleeves come down quite low on the shoulders you’ll have to attach a cuff to the shoulders directly. So you don’t need to cut the original sleeve piece.
Cutting the front and front side pieces
As indicated above, once you have modified the front pattern piece you obtain two pieces:
- The front (in pale orange on the illustrations above)
- The side front (in pink on the illustrations above)
Cut each piece twice. Make sure to mirror the pieces to make sure to have a right and left side. The simplest way to obtain mirrored pieces is to fold your fabric in two.
Cutting the collar piece
Cut the modified collar twice on the fold as per the original pattern.
Cutting the back piece
Cut the original back piece once on the fold.
Print and cut the cuff piece
Download and print the cuff piece and cut it 8 times. Be careful to cut the piece mirrored to obtain too mirrored cuffs. The simplest is to cut the cuff piece four times with the fabric folded in two.
Sewing the shirt
Assembling the front
Place one front and its corresponding side front right sides together and sew at 1 cm (3/8”). Finish the raw seam and press the seam towards the side.

Sewing the shoulders
Place the fronts and the back right sides together at the shoulders and sew at 1 cm (3/8”). Finish the raw seam and press the seams towards the back.

Sewing the side seams
Overlock the raw edges of the side
Overlock or zig-zag stitch each side of the front and the back individually. For each, start at the bottom of the sleeve and finish at the bottom of the garment.
Sewing the side seams
Place the fronts and the back right sides together and align the sides. Pin in place and sew each side at 1 cm (3/8’’). For the shirt and the tunic stop 12 cm (5’’) from the bottom and for the dress stop 33 cm (13’’) from the bottom to create the slits.

Sewing the cuffs
Prepare the cuffs
Place two cuffs right sides together and sew each end at 1 cm (3/8”). Press.
Repeat three times with the rest of the cuff pieces.

Assembling the cuffs
Place two cuff pieces right sides together (one of them will be placed inside the other one). Align the top of the cuffs (the longer circle). Sew all around at 1 cm (3/8”).Turn right side out and press. Repeat to assemble the second cuff.

Sewing the cuffs to the shoulders
Place one cuff inside the sleeve (right sides of the cuff against wrong side of the sleeve). Match the seams. Align their raw edges. and pin. Sew at 1 cm (3/8”) all around. Overlock or zig-zag stitch the seam and press.

Turn the cuff towards the right side of the sleeve. Maintain the cuff in place with an invisible stitch at the shoulder and side seams.
Finishing the garment
Carry on sewing the garment following the explanations in the booklet. Of course, with this version you will not have to hem the sleeves.
Note: As we added 1 cm at the ends of the collar to make it bigger, the collar will sit closer to the center front than indicated on illustration H. It is normal.
Share your Lucienne
Your Lucienne is now finished. Before running outside to show off your new shirt to the world, don’t forget to take a snap and share it on Instagram using the following tags: @ledressingdecindy, @iam_patterns, #iampatterns and #iamlucienne.
If you do not have the sewing pattern of the I AM Lucienne shirt, discover it now.

Huge thanks to Cindy (@ledressingdecindy) for creating this tutorial. Follow her on Instagram for more of her ideas.