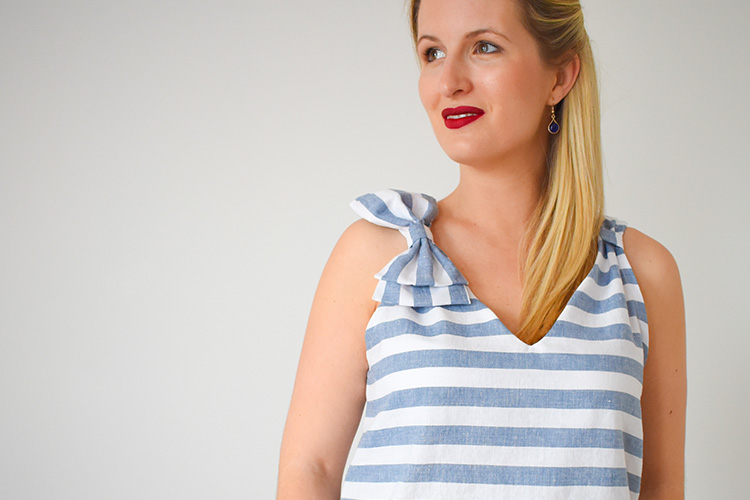
The witty and seamstress goddess Cindy of @ledressingdecindy has kindly tested the Gaïa cami top for the French magazine Passion Couture Créative. While sewing the top she decided to add her grain de folie. Now I AM Gaïa comes witha bow at the shoulders.
Follow the tutorial below to sew the I AM Gaïa top with added cuteness…


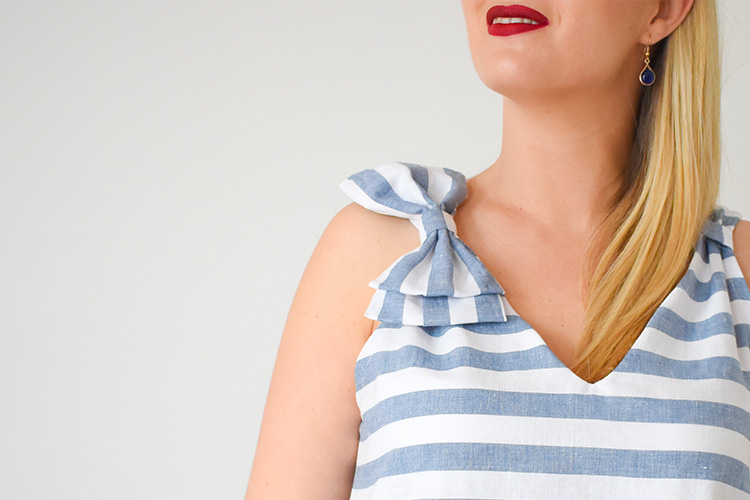
HOW TO SEW THE BOW
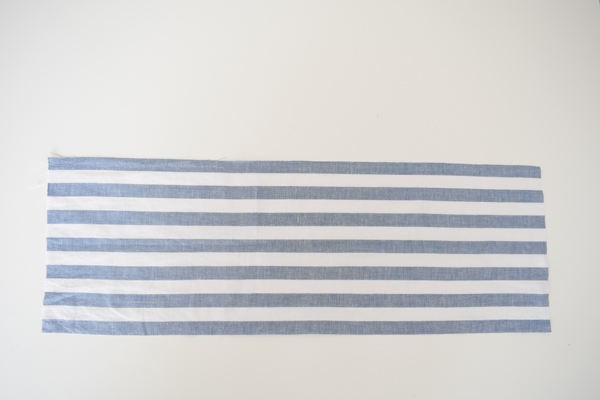
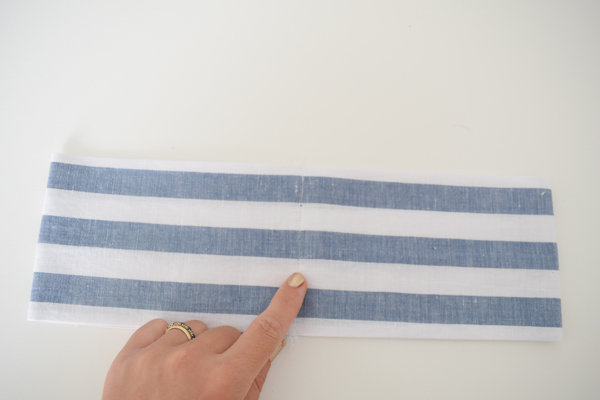
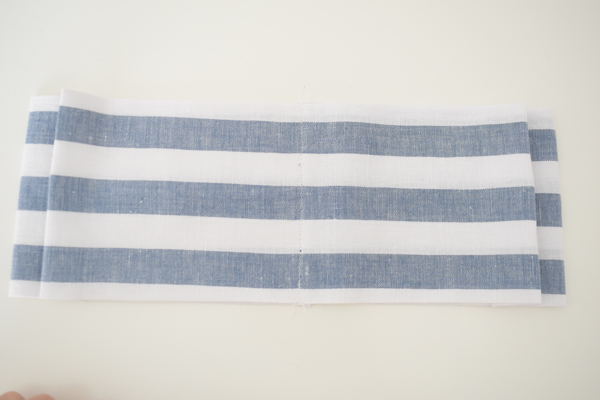
Cut a rectangle of 20 1/2” inches by 9 1/2”.
Fold the rectangle in half lengthwise.
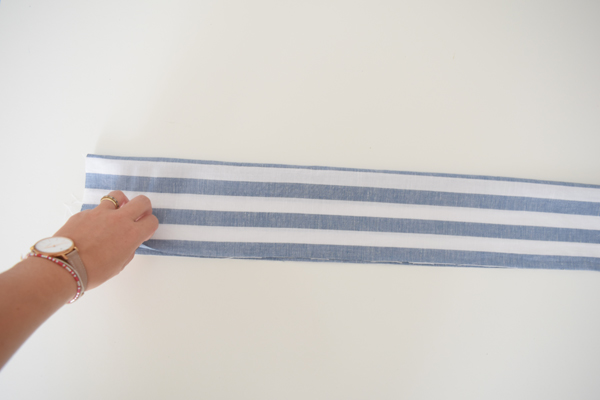
Sew along the unfinished length at 3/8”.
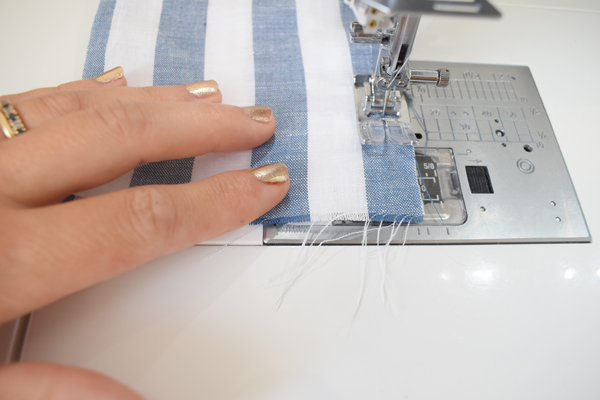
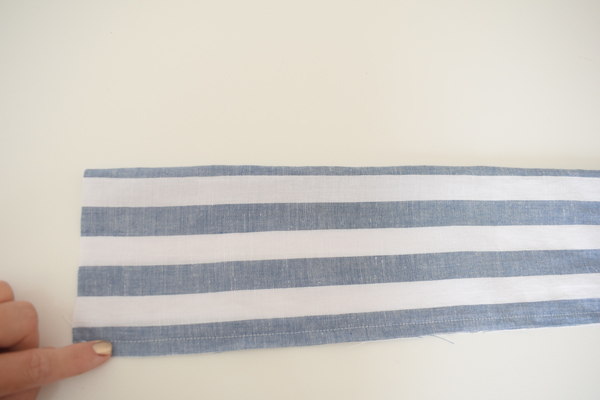
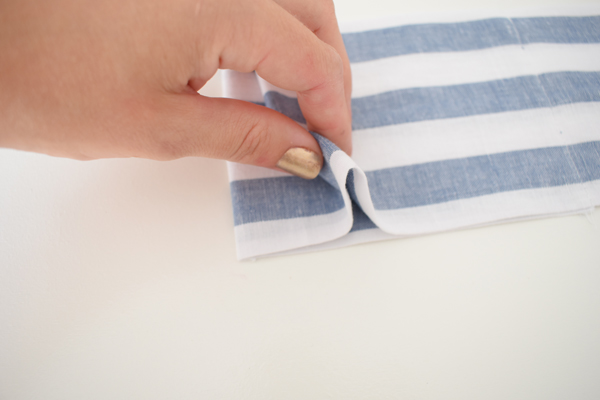
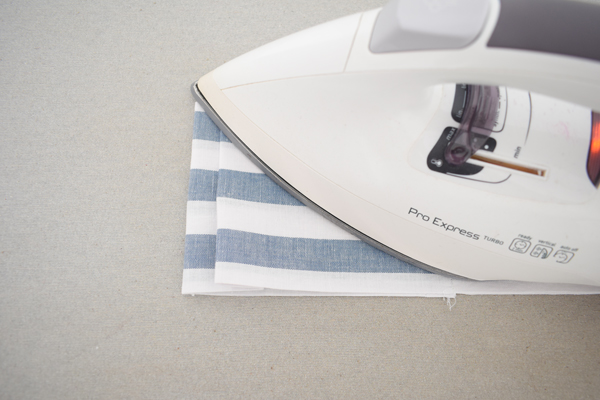
Press the seam open and turn right side out.
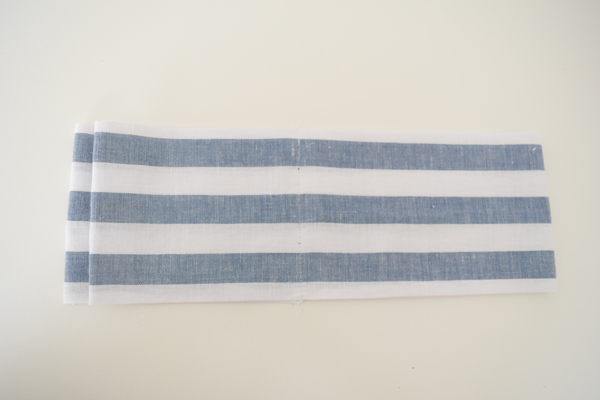
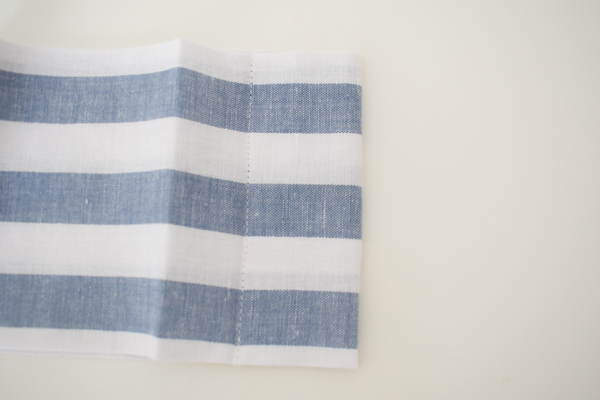
Place the seam in the middle and press. This side will be the wrong side of the piece.
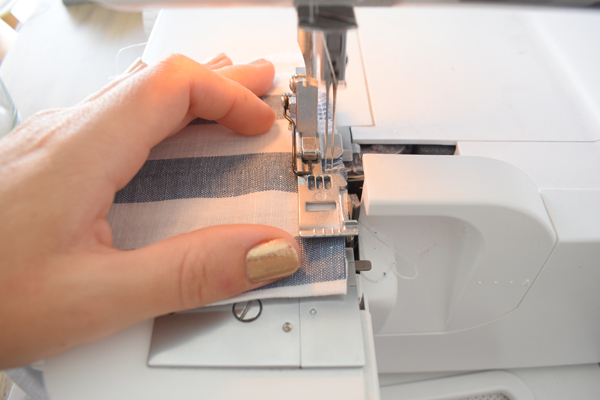
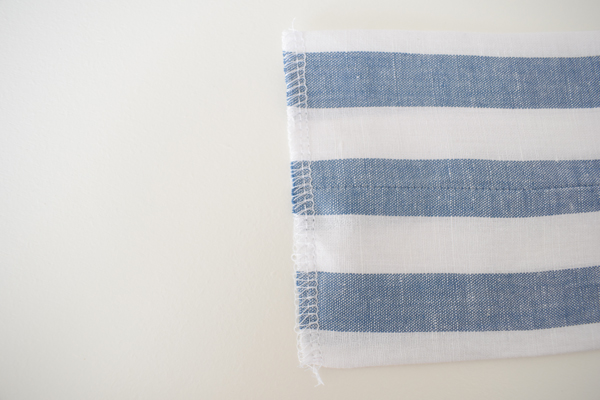
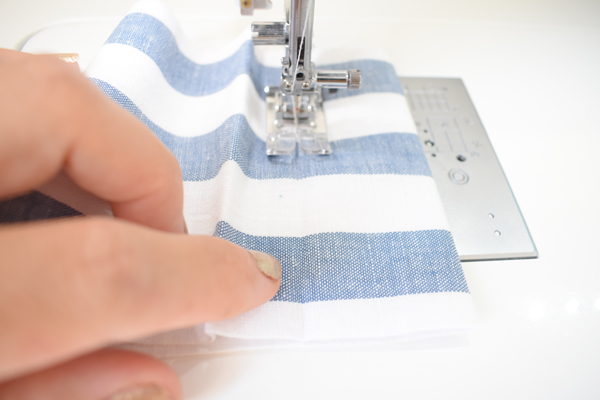
Overlock the 2 extremities (or finish it with a zig-zag stitch). You are left with a rectangle of 4 3/8” by 20 1/2”.
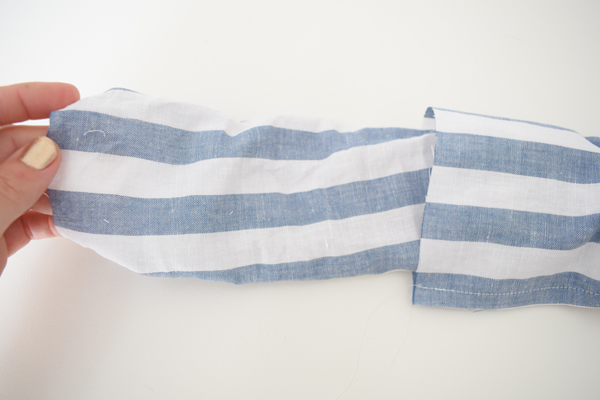
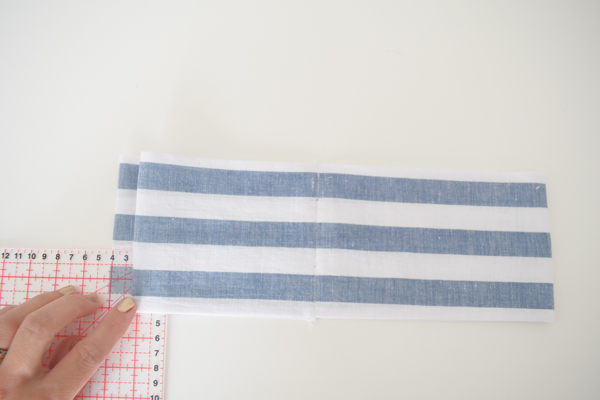
Place the piece wrong side up and fold one extremity of the rectangle on itself and place it in the middle.
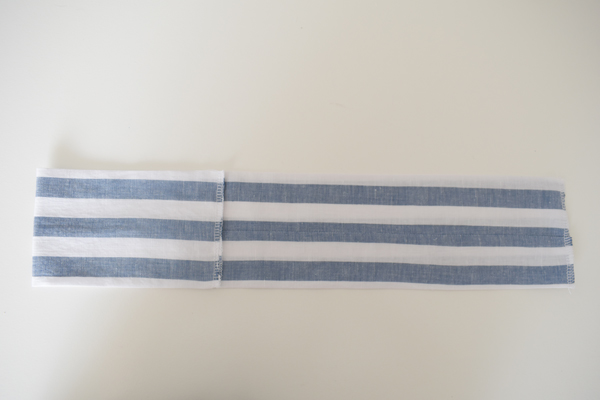
Do the same for the other extremity. Make sure to superimpose the edges over 3/8”.
Sew all the layers together where the extremities meet. The seam will be visible on the right side of the rectangle but it will be hidden with the ribbon at the end.
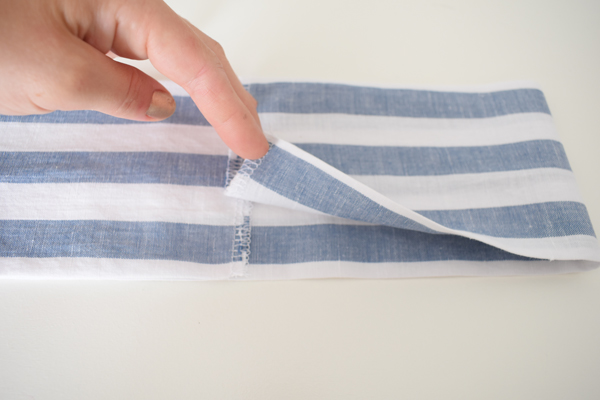
Place the rectangle right side up. Fold one extremity 1 5/8” on itself and inside the layers of fabric as indicated on the picture.
Repeat the steps for the other extremity. It looks like you have 2 rectangles but avoids having too many layers.
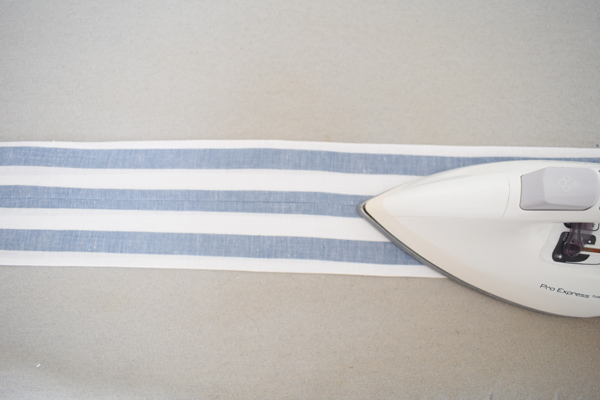
Press to mark the folds.
Lift the fold on the top so it reveals the bottom fold and sew that bottom fold in place along the crease.
Repeat the steps for the other side of the bow.
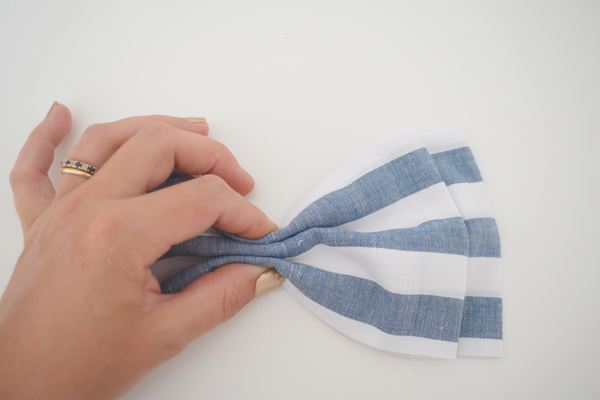
Create the shape of the bow by pressing at the center with your fingers. Wrap a thread around the center a few times and secure it with a knot to maintain the shape of the bow in place.
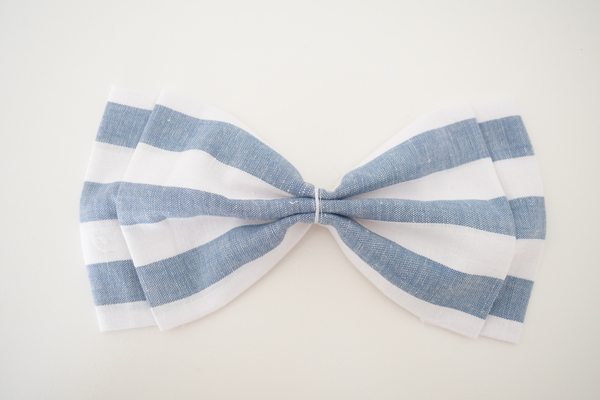
Your bow is ready and you can now slide it inside the ribbon at the shoulder. Maintain it in place by hand sewing an invisible stitch.