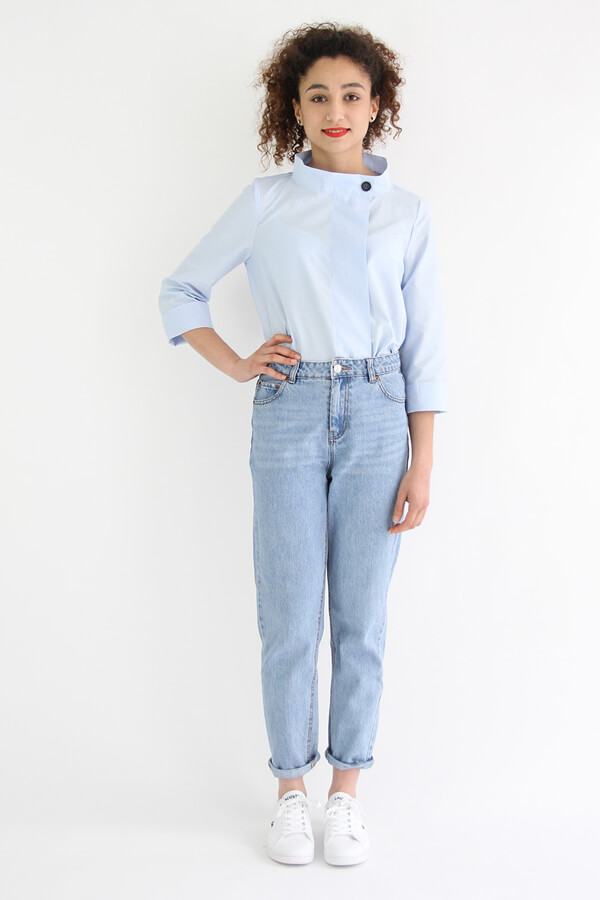
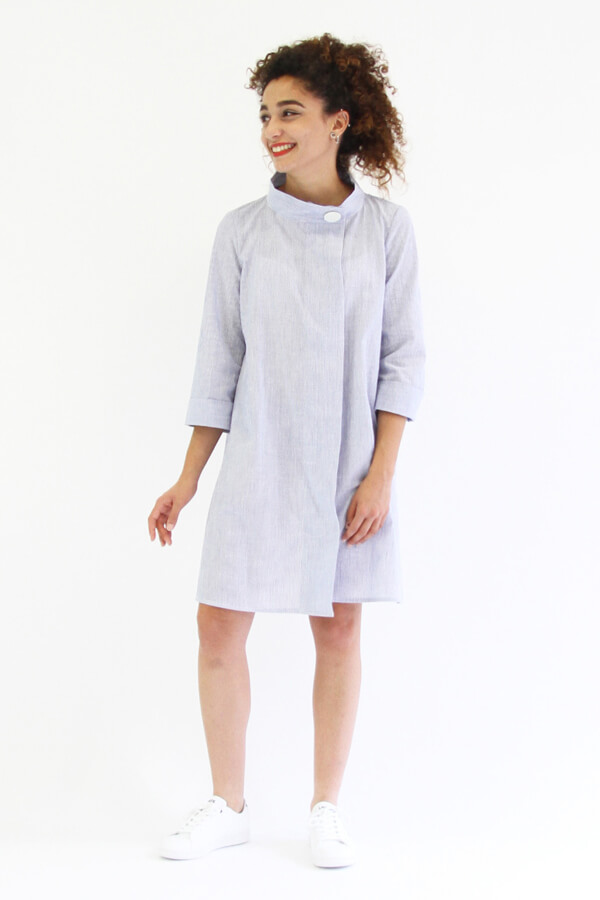
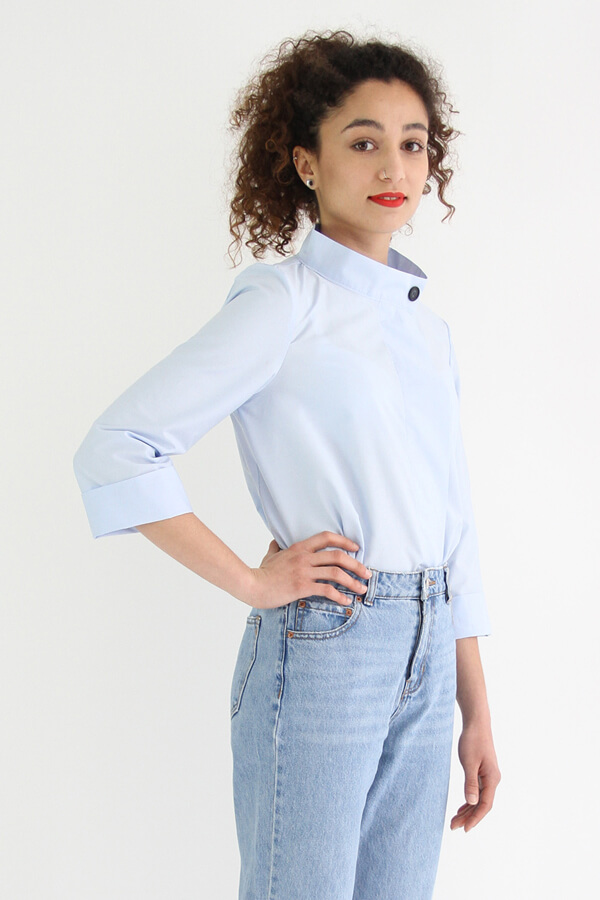
Be it the dress version or the shirt or even the jackets, sewing I AM Libellule will be a child’s play with this tutorial. We have put the written explications first and then below we added the picture to illustrate each step. We look forward to seeing your version of the sweatshirt on social media. Tag us @iam_patterns, #iampatterns and #iamlibellule.
CUTTING THE FABRIC
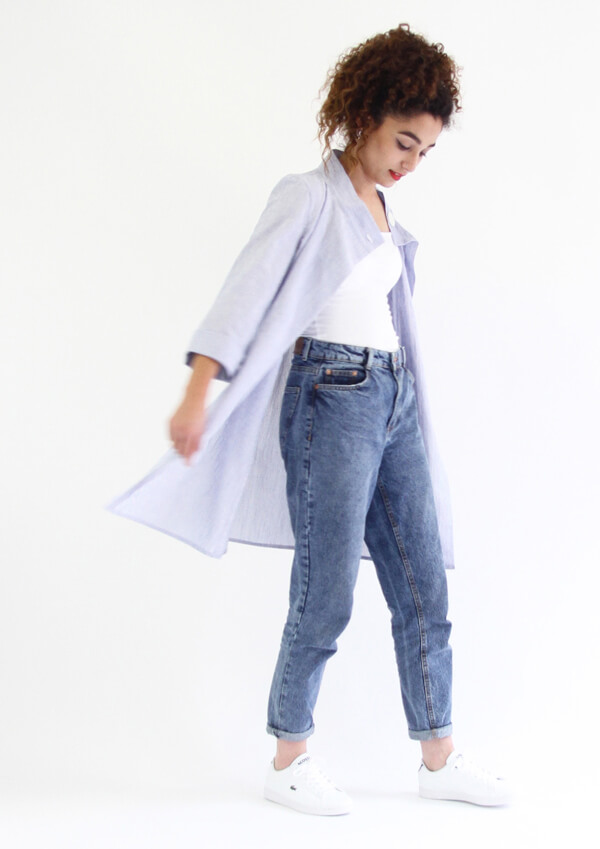
Advice: to make one of the jacket versions, choose one size bigger than the one indicated on the measurement chart.
Cut the fabric following the cutting plan. Make notches as shown on the pattern and on the center back. Trim the left front bodice 6 3/8″ as indicated on the pattern.
Trim the left collar 1 9/16″ as indicated on the pattern.
The positioning of the different pattern pieces is the same for both versions. The pattern pieces 1 and 2 are lengthened for the long version.
SEWING THE RIGHT BUTTON PLACKET
1. Fold and iron as indicated on the pattern.
The first fold is towards the inside, the second towards the out- side and the third one towards the inside. Finish by folding the edge at 3/8″ in order to fold back the seam allowance inside. The concealed button placket is now created.


2. Pin to keep all the folds in place. Topstitch it all together in order to create the concealing stand and the concealed button placket.


3. Mark the buttonholes using the pattern and sew them following the center axis of the concealed button placket only. NOTE: Do not sew the buttonholes on the outside button placket.


SEWING THE LEFT FRONT BUTTON PLACKET
4. On the edge of the left front piece, fold and iron 3/8″ and then, fold and iron 1 5/8″.

5. Pin in place and topstitch.


SEWING THE SHOULDERS
6. Place the front and the back right side together at the shoulders. Pin in place and sew at 3/8″. Overlock and iron the seams towards the back.


PREPARING THE COLLAR
7. Fold the collar in half, lengthways right sides together. Sew each extremity of the collar at 3/8″. Start on the fold and make sure to stop 3/8″ before the edge of the fabric to leave the seam allowance free. Turn inside out, push the corners out neatly and iron.


SEWING THE COLLAR
8. Place the collar and the neckline right sides together matching up the notches. Pin in place one collar stand. The other collar stand remains free.

9 Sew at 3/8”.
10. Iron the seam allowance inside the collar. Iron the 3/8″ seam allowance of the free edge towards the inside of the collar too.


11. Looking at the wrong side of the garment, align this folded edge with the first seam. Pin in place.

12. On the right side of the garment, make a topstitch along the collar.


SEWING THE SLEEVES
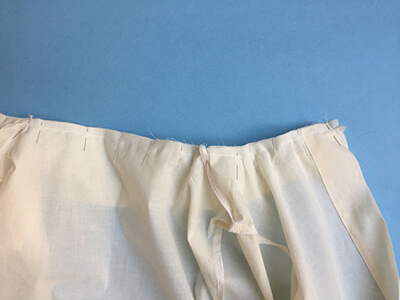
13. Sew a gathering thread on the sleeve head between the notches at slightly less than 3/8″.

14. Place the sleeve and the armhole right sides together matching up the notches. Pin in place at the notches.

15. Pull softly on the gathering thread until the sleeve head and the armhole are the same length. Spread the ease evenly on the sleeve head.

16. Pin in place all along the sleeve head and sew at 3/8″. Overlock. Repeat for the other sleeve.

SEWING THE SIDES
17. Place the front and the back right sides together and pin along the side seam and the sleeve making sure to match up the underarm seams. Sew at 3/8″ and overlock. Repeat for the other side.

PREPARING THE CUFFS
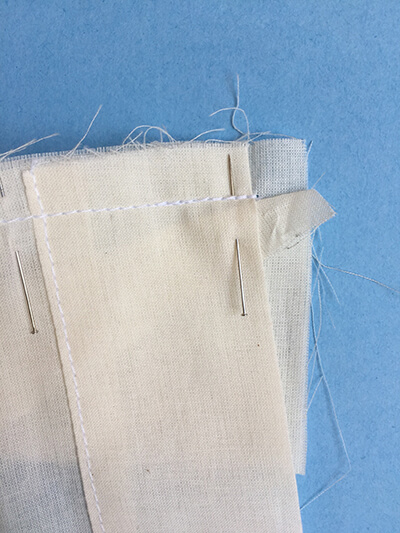
18. With right sides together align the edges of the height of the cuffs. Pin in place and sew at 3/8″.

19. Fold along the middle lengthwise with wrong sides together and iron to mark the fold.


SEWING THE CUFFS
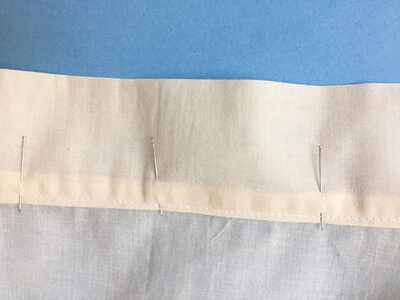
20. Insert the cuff inside the sleeve right sides together. Align the raw edges matching the seam of the cuff with the seam of the sleeve.

21. Pin in place and sew all around at 3/8″. Overlock. Repeat for the other cuff.


22. Here is the cuff on the right side.

23. Wear the garment with 2 3/8″ of the cu turned inside out.

SEWING THE HEM
24. At the bottom of the garment, fold and iron 3/8″ and then 3/8″ to prepare the hem. Pin in place and topstitch all around.

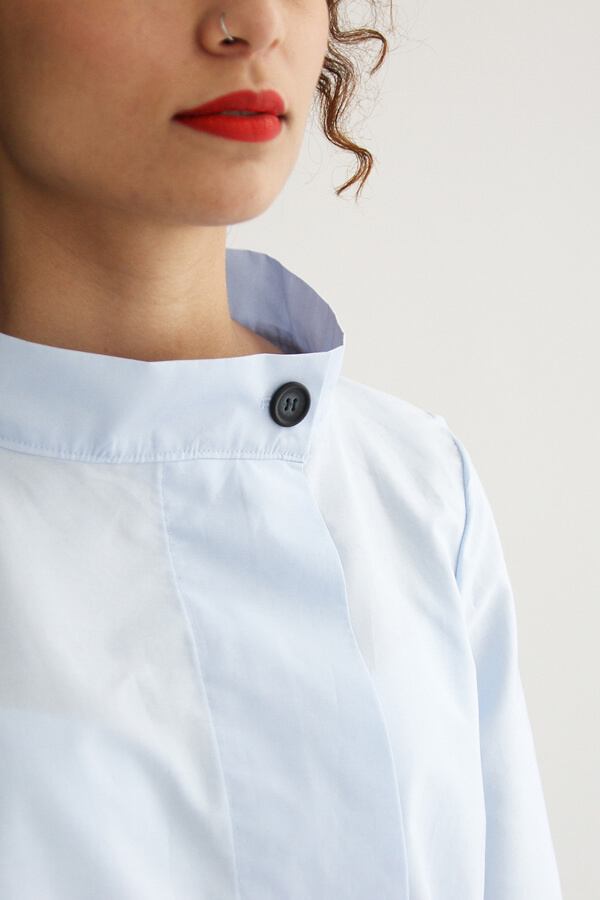
SEWING THE BUTTONHOLE AT THE COLLAR
25. Sew the buttonhole on the right side of the collar by placing it on the center of the collar height-wise and 1″ from the edge. Then, sew the buttons matching up the buttonholes.

If you do not have your I AM Libellule sewing pattern yet, discover it now.
Bonne couture.