I AM Jain is a basic that is both simple and fast to sew. A pleasant combination. Especially when you know that it is also very versatile. You can sew it with short sleeves or long sleeves as a top or as a dress.
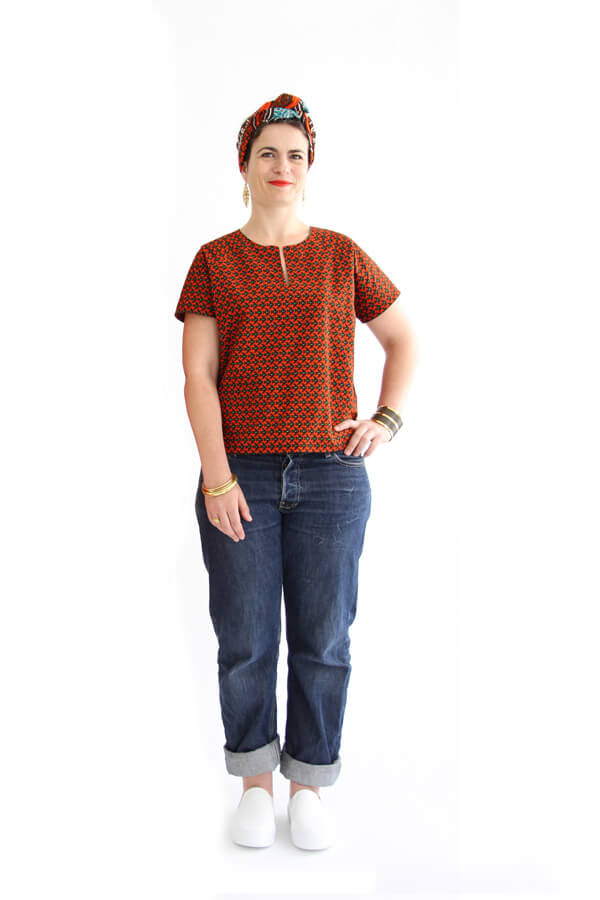
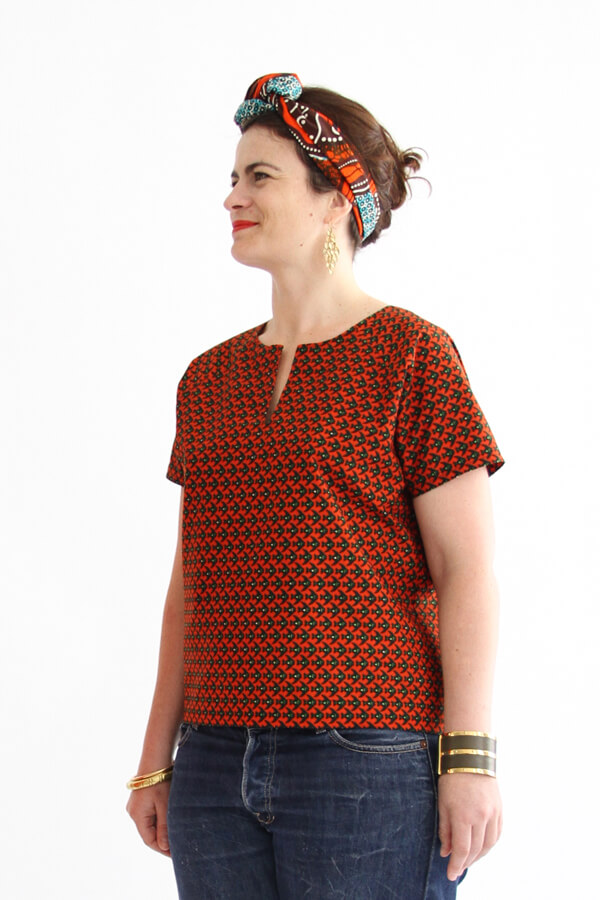
For those of you who do not know the I AM Jain pattern, here are some pictures of the original pattern.

Today we show you the light jacket that Blandine, our marketing manager, has made from this already very versatile pattern. In a denim or a coton canevas it will accompany you on the days when a T-shirt is just not enough.


Follow the tutorial below to know how to sew your own Jain jacket.
And if you do not have the I AM Jain pattern yet, you can discover it here.
Bonne couture.
SUPPLIES
Recommended fabrics: Take inspiration from your favourite spring jackets : thin denim, cotton canevas, flannel, gabardine,…
Required fabric : 2 yards by 55″ wide / 1,80 m by 140 cm wide
PREPARING THE PATTERN
Make the following changes to the pattern pieces:
Back (piece #2):
Lengthen the bottom of the piece by 8in (20 cm)
Front (piece #1):
Add 3/16in seam allowance all along the center front (where “cut on fold” is mentioned)
Lengthen the bottom of the piece by 8in (20 cm)
Front Facing (piece #6):
Add 3/16in seam allowance all along the center front (where “cut on fold” is mentioned)
Lengthen the bottom of the piece by 23in (58.5 cm)
Sleeve (piece #3):
Lengthen the bottom of the pattern piece Sleeve by:
Size 46 : 3/8″ (1cm)
Size 44 : 3/4″ (2 cm)
Size 42 : 1 3/16″ (3 cm)
Size 40 : 1 5/8″ (4 cm)
Size 38 : 2″ (5 cm)
size 36 : 2 3/8″ (6 cm)
CUTTING THE FABRIC
Once your pattern pieces are ready, place them on the fabric as shown on the layout plan below and cut. Make notches on the center back of the back and back facing.

Front (piece #1) : Cut x 2*
Back (piece #2) : Cut x 1 on the fold
Sleeve (piece #3) : Cut x 2
Back Facing (piece #5) : Cut x 1 on the fold
Front Facing (piece #6) : Cut x 2*
*NOTE : Do not sew the Front piece (#1) and the Front facing piece (#6) on the fold as indicated on the original pattern but instead cut 2 pieces of each.
ASSEMBLING THE SLEEVES, THE FRONT AND THE BACK
Place a sleeve and one front of the bodice right sides together and pin in place. Sew at 3/8in. Overlock and iron the seam allowance downwards. Repeat those steps for the back of the bodice. Sew the other sleeve following the same instructions.

OVERLOCK THE FACING PIECES
Overlock the facings at the shoulders and along the outside line.
ASSEMBLING THE FACING
Place the front and the back facings right sides together and align them at the shoulders. Pin in place and sew at 3/8in. Iron the seams towards the back.

SEWING THE FACING TO THE GARMENT
Place the facing and the bodice right side together. Match their center backs and align the edges of the center front and the neckline. Pin all along the facing and sew from one end to the other at 3/8in seam allowance. Start at the bottom of one center front and finish at the bottom of the other center front.

Clip the curves and turn right side out. Iron to maintain the facing inside the garment and pin it in place all along.
MAINTAINING THE FACING INSIDE
By hand, stitch the facing at each of the shoulder seams to help maintain it inside.
SEWING THE SIDES
Place one front and the back right sides together and pin along the side seam and the sleeve making sure to match up the underarm seams. Sew at 3/8″. Clip the seam allowance at the angle. Overlock. Repeat for the other side.

FINISHING
At the bottom of the garment, fold 3/8″ towards the wrong side and iron. Fold again 3/4″ on the wrong side and iron. Pin in place and topstitch 2mm from the edge to maintain the hem in place.
Repeat the same steps for the sleeves.

Your I AM Jain jacket is now finished. Wear it proudly. And share it on social media using @iam_patterns #iamjain and #iampatterns