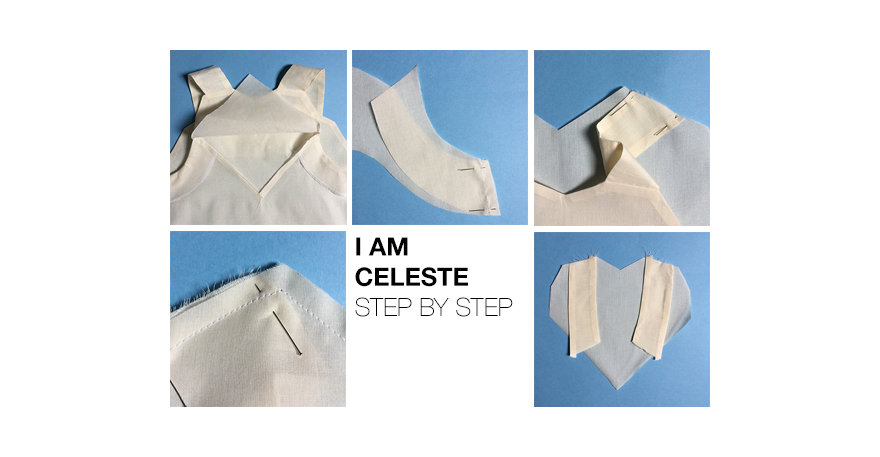
Follow the step-by-step visual guide underneath to help you sew I AM Céleste, your favorite dress from the collection I AM IN AFRICA. We have put the written explications first and then below we added the picture to illustrate each step.
If you don’t already have your I AM Celeste dress, discover it now.
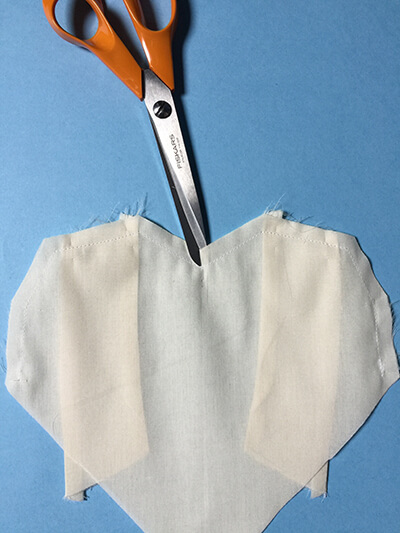
CUTTING THE FABRIC
Cut the fabric following the cutting plan.
Make notches as shown on the pattern.
The heart can either be made in the same fabric as the rest of the garment or in another fabric. Both choices are shown here. The required fabric for the garment is enough to include the heart pieces.
ASSEMBLING THE FRONT AND ARMHOLE FACINGS
-1- Place the front facing with one of the armhole facings right sides together. Align their sides. Pin the sides and sew at 3/8’”.
-2- Overlock.
-3- Iron the seam towards the back. Follow the same instructions for the other armhole facing.

-4- Overlock along the bottom of the facings.
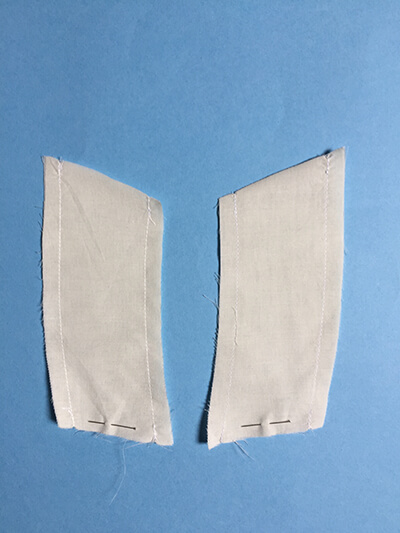
PREPARING THE SHOULDER YOKES
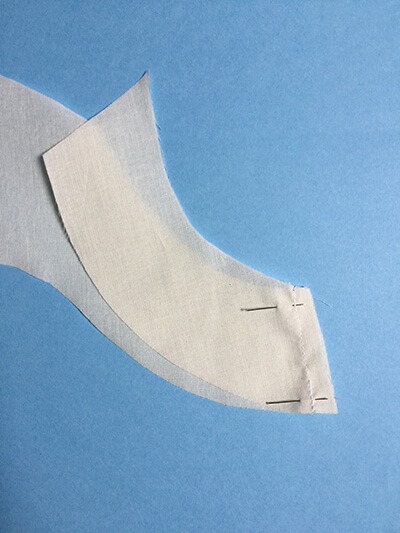
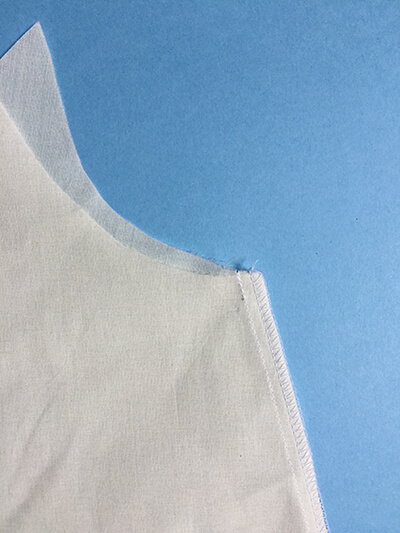
-5- Make sure to mark the shoulder yokes to distinguish the front edges from the back edges (they are indicated on the pattern). Here the pins mark the back side.
Place 2 shoulder yokes right sides together. Sew the sides at 3/8″. The top and the bottom remain unsewn.
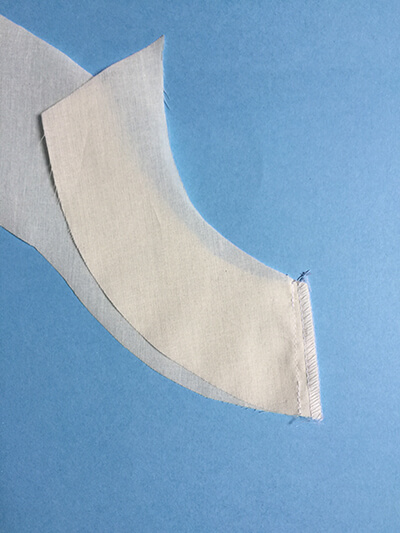
-6- Notch the curves.

-7- Turn inside out and iron. Follow the same instructions for the other shoulder yokes.

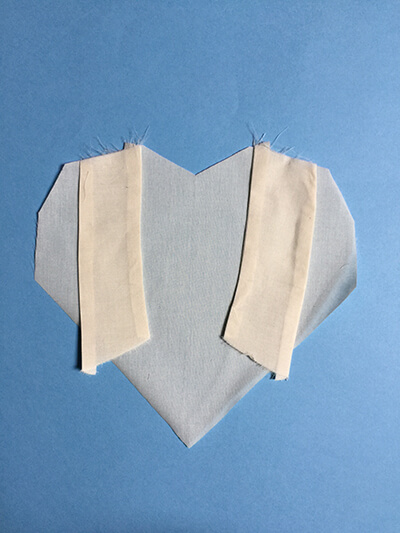
ASSEMBLING THE SHOULDER YOKES AND THE HEARTS
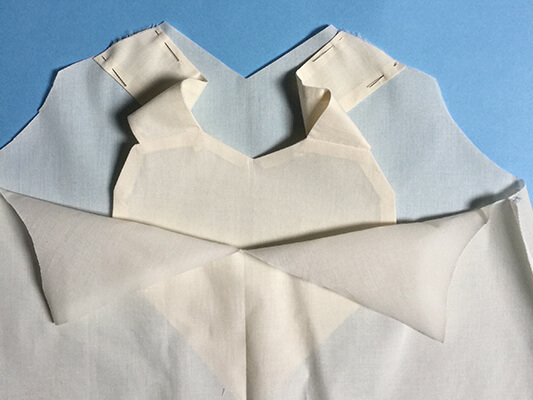
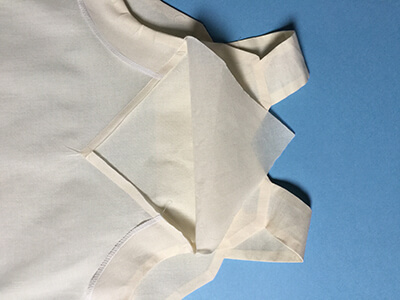
-8- On a table, place one heart piece right side towards you. Superimpose the shoulder yokes making sure to align the back edges of the shoulder yokes with the top of the heart. Match up the shoulder yokes with the notches. The shorter curves of the shoulder yokes are positioned towards the center front whereas the longer ones are positioned towards the outside.
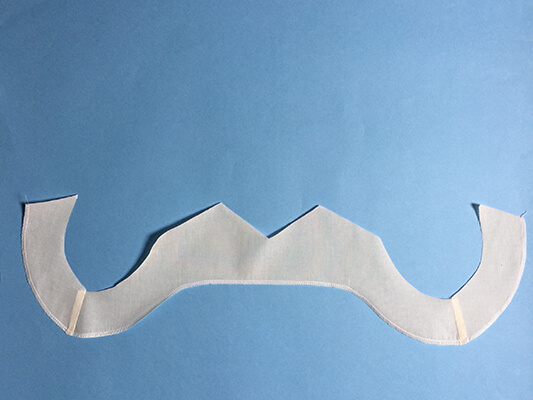
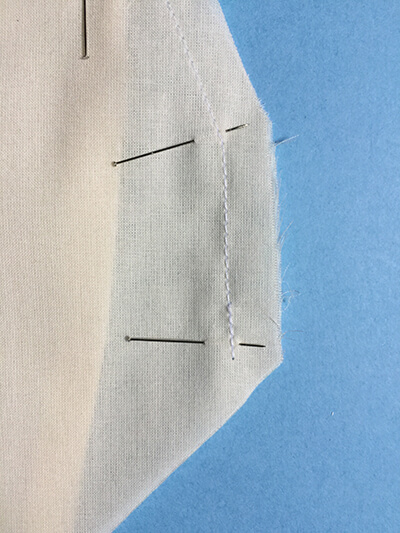
-9- Superimpose the second heart piece wrong side facing you. Pin in place and sew the top of the heart at 3/8″. Make sure to start and stop stitching 3/8″ from the edges.

-10- (Make sure to start and stop stitching 3/8’’ from the edges.)
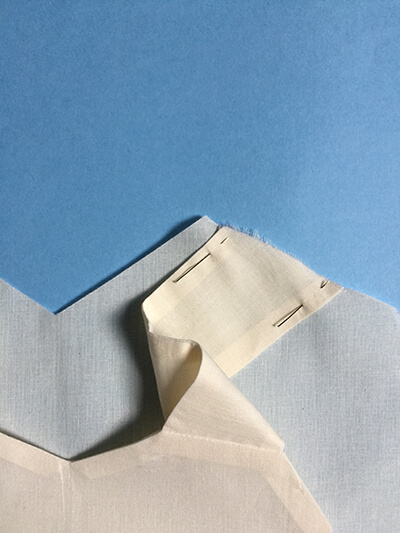
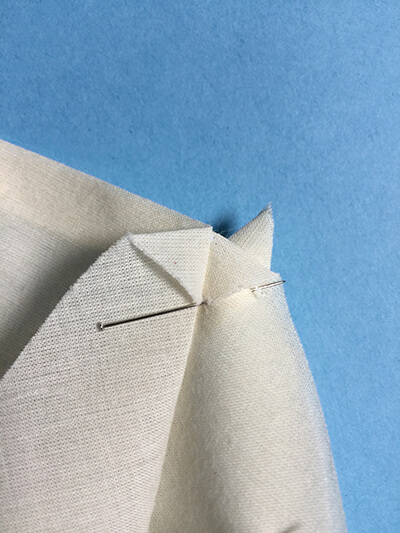
-11- In order to make sure the shoulder yokes are aligned with the edges of the heart when you turn the work right side out, make sure to create the angles at the very edge of the shoulder yokes.
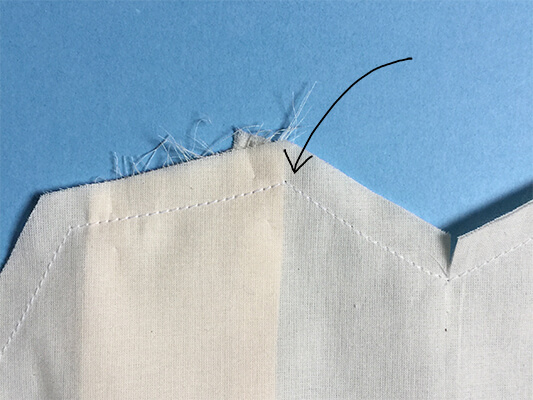
-12- At the angle of the center of the heart, carefully make a notch up to the seam.
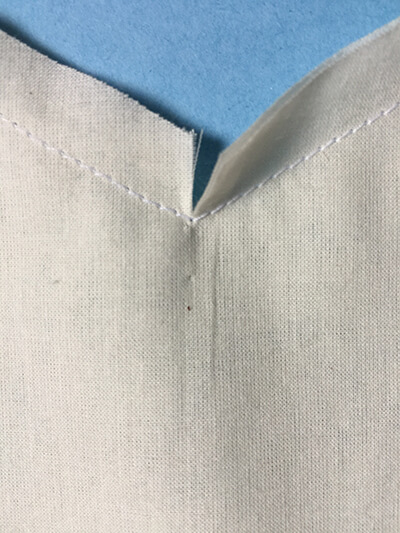
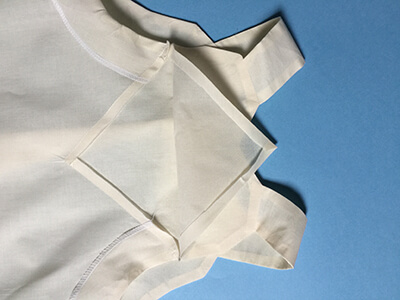
-13- Turn right side out to have the heart pieces wrong sides together and iron.
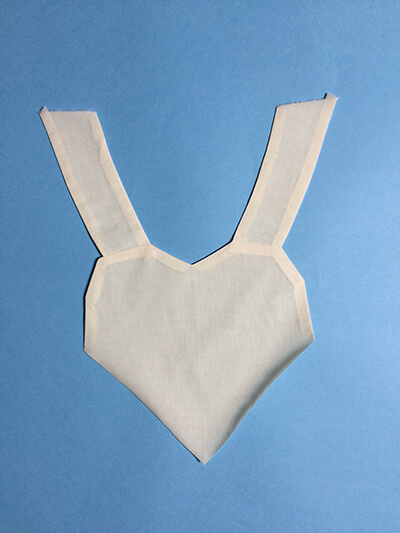
SEWING THE SIDES
-14- Place the front and the back right sides together and pin along the side seams. Sew at 3/8″.
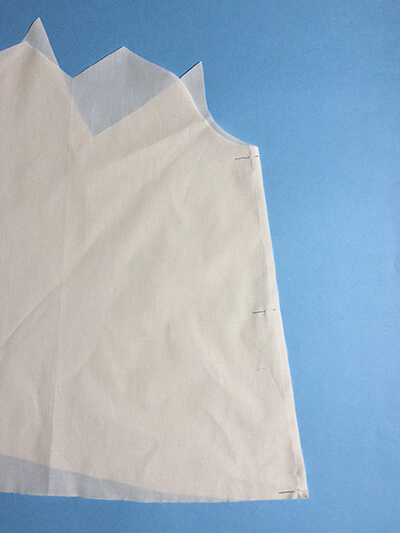
-15- Overlock.
SEWING THE FRONT AND THE YOKES
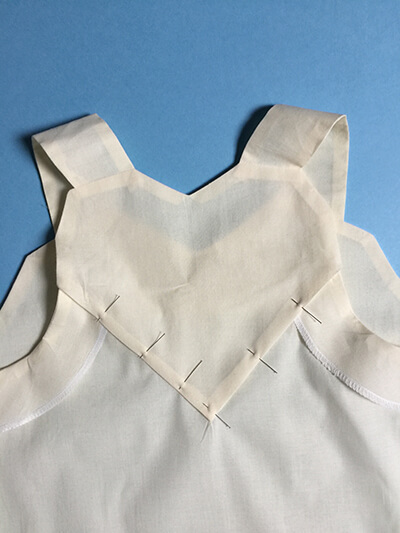
-16- On a table, place the front right side facing you. On top, place the shoulder yokes making sure to align the front edges of the yokes with the top of the front. Match up the shoulder yokes with the notches. The shorter curves of the shoulder yokes are positioned towards the center front whereas the longer ones are positioned towards the outside.
-17- Once done, superimpose the facing that was sewn previously with the wrong side facing you
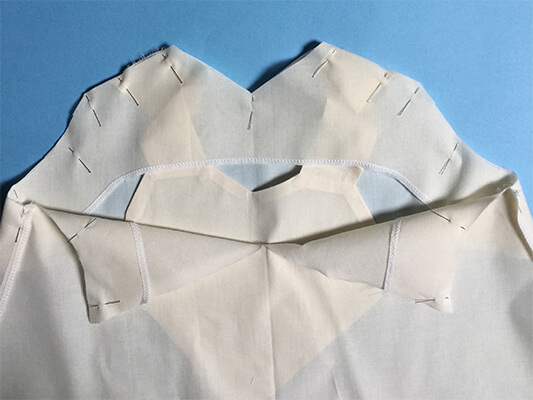
-18- Pin in place and sew it at 3/8″.
-19- In order to make sure the shoulder yokes are aligned with the edges of the front when you turn the work right side out, make sure to create the angles at the very edge of the shoulder yokes.

-20- At the angle of the center front, carefully make a notch up to the seam.
-21- Notch the curves.
-22- Turn right side out to have the heart pieces wrong sides together and iron.

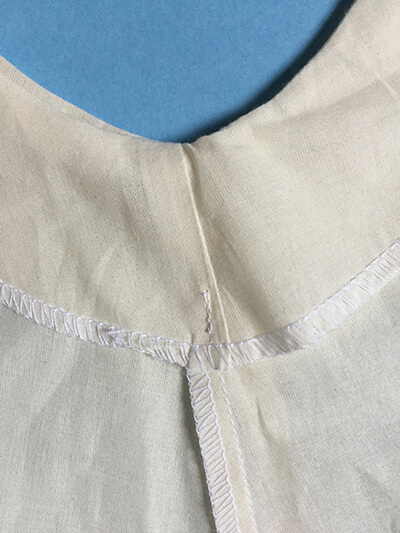
SEWING THE HEART AND THE GARMENT
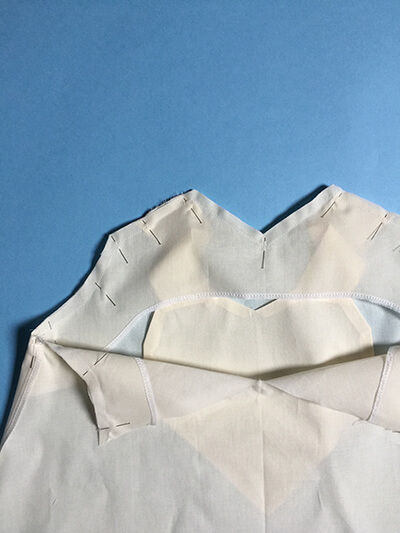
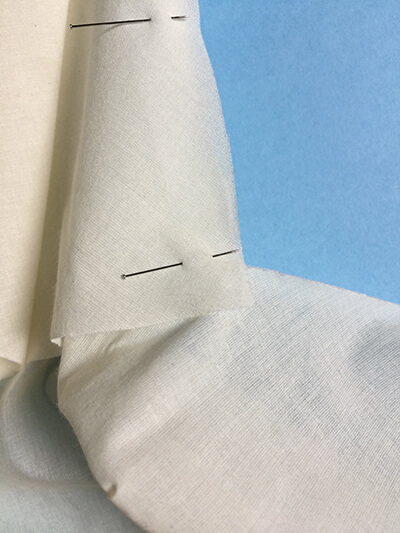
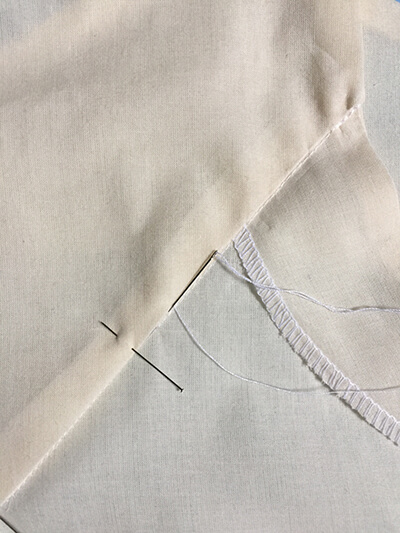
-23- Place the outside of the heart and the corresponding side of the back right sides together and pin in place. The heart piece on the inside of the garment is not pinned and so remains free.
-24- Close up on the outside.
-25- Close up at the center back.
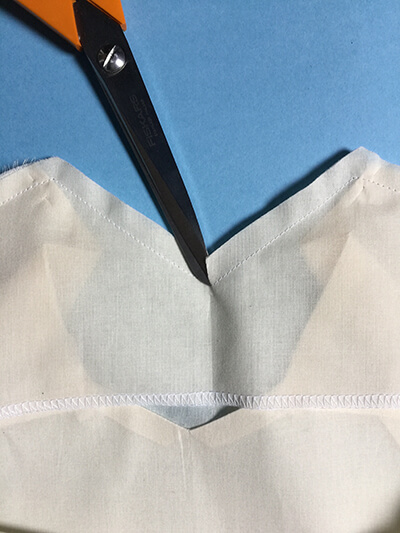
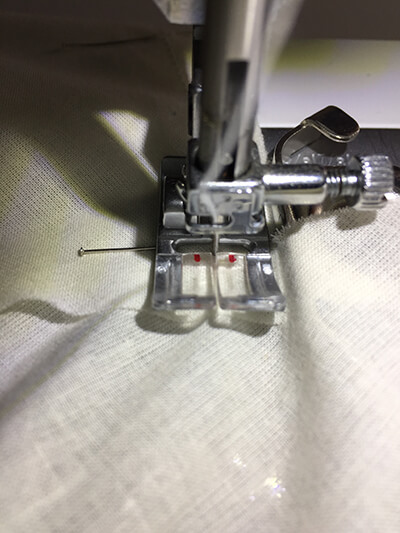
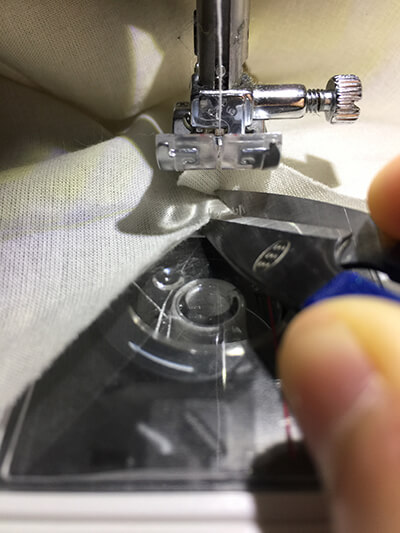
-26- Sew at 3/8″ starting from the side and going towards the center of the garment. When arriving 3/8″ before the tip of the heart, keep your needle in the down position.
-27- Lift up the presser foot and pivot the fabric in order to have the angle of the back towards you.
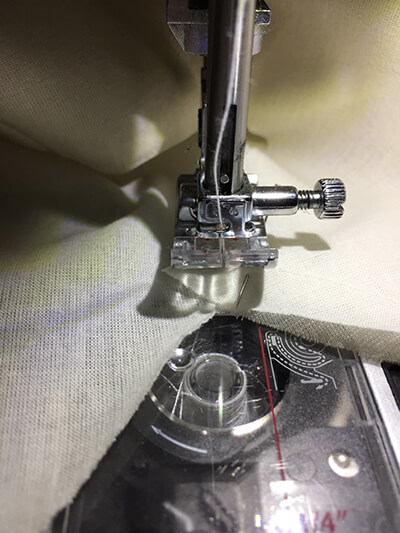
-28- Keeping the needle in the down position, carefully cut the seam allowance up to the needle.
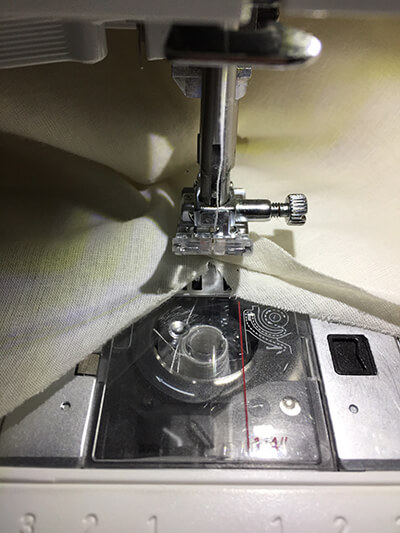
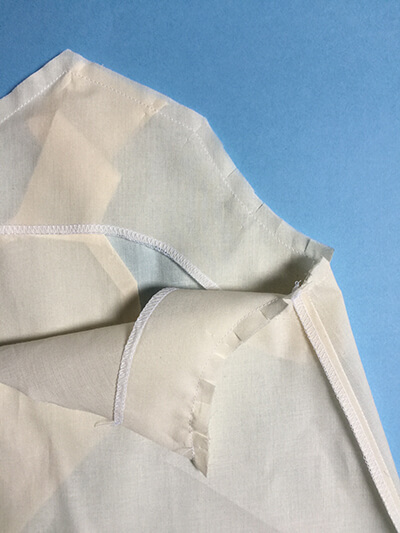
-29- Align the second side of the heart with the other side of the back. Lower your presser foot and start sewing again.
-30- The outside of the heart is sewn with the back.
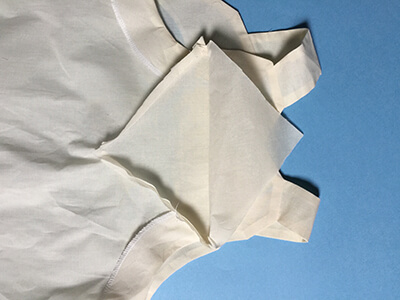
-31- Iron the 3/8″ seam allowances towards the inside of the heart.
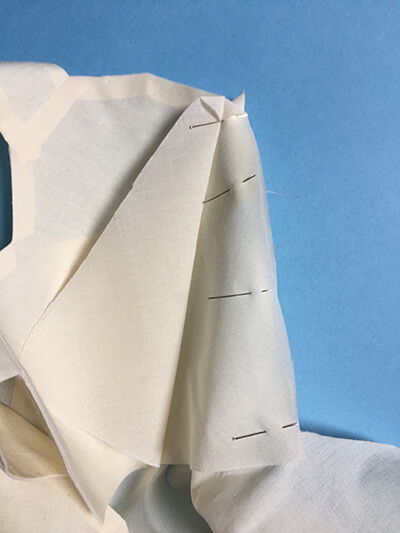
-32- On the heart piece which is inside the garment, fold and iron the 3/8″ seam allowance inside the heart.
-33- Pin in place.
-34- Close the heart by hand with an invisible stitch.
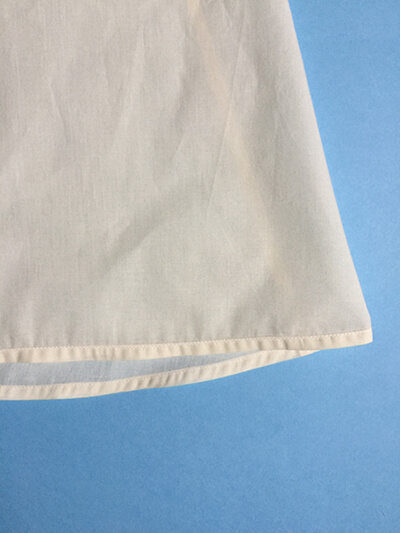
SEWING THE HEM
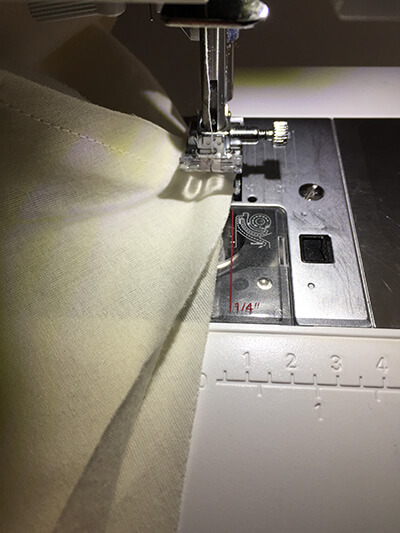
-35- At the bottom of the garment, fold and iron 3/16″ and then 1/4″ to prepare the hem.

-36- Pin in place and topstitch at 2 mm all around.
MAINTAINING THE FACINGS IN PLACE
-37- Sew the facing with each side seam to help maintain it inside.
Congratulations, you’ve finished your creation. Post it on social media with: @iam_patterns, #iampatterns and #iamceleste